Showing posts with label Royalist Cavalry. Show all posts

Tuesday, 28 July 2015

Sir Marmaduke Langdale


Well, it's nice to do another blog post! Much has been going on since the last post but I have managed to get quite a bit of painting done of late too.   My games of Pike and Shotte have shown me how desperately short of command stands both my Royalist and Parliamentarian armies are.  

As much as I prefer to spend time painting infantry and cavalry instead of commanders (because of some sort of feeling of obligation to doing my very best efforts to the great and bold), I felt I could put this off no longer.

Inevitably,once started, I really got into it and enjoyed putting the colours and detail on.


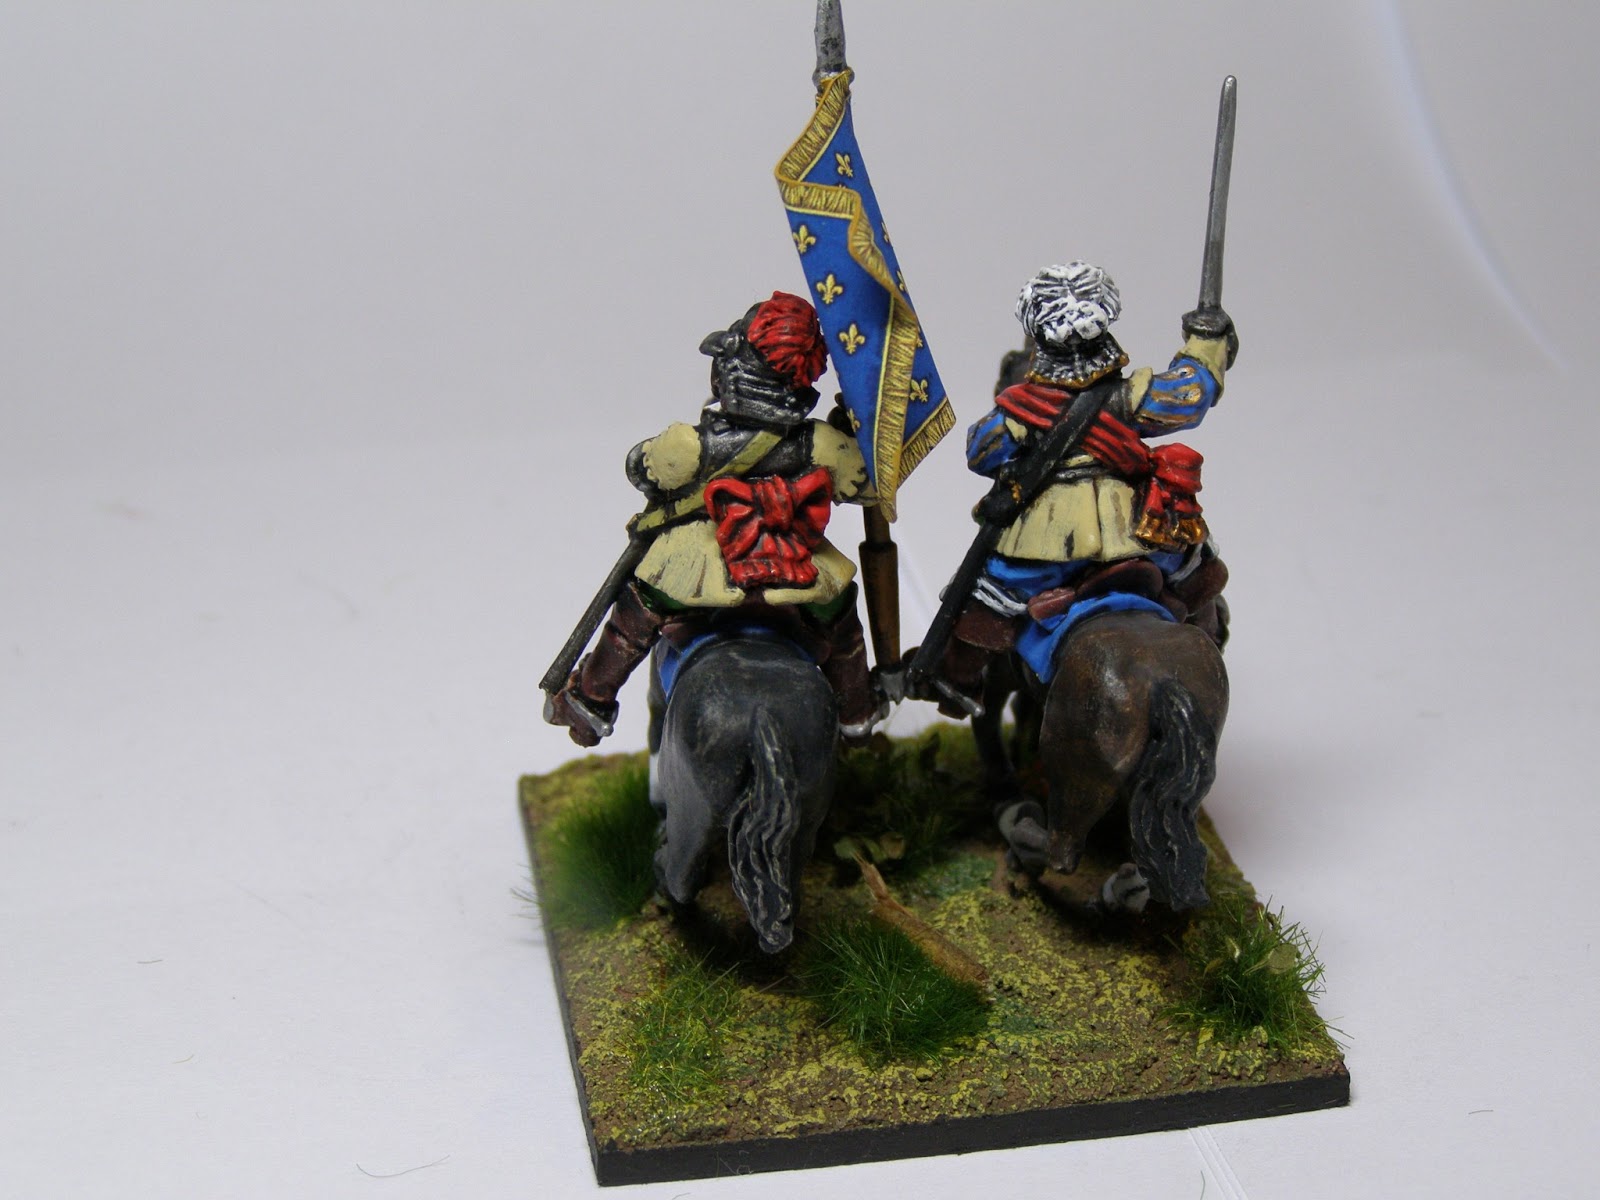
This is Sir Marmaduke Langdale along with one of his senior cavalry officers.  He was an important Royalist commander during the Civil Wars, and he famously led the particularly rough and mutinous 'Northern Horse'.  More information is available at this particularly good resource:


http://bcw-project.org/biography/sir-marmaduke-langdale

Interestingly Sir Marmaduke appeared to suffer an awful lot of defeats and one can only admire his doggedness and spirited refusal to give in.


The portrait appears to show him wearing some kind of cap which seems to sit too far to the back of the head to be an armoured skull-cap, so I have made the assumption that it some sort of velvet cap, perhaps to add extra padding beneath his helmet, so have painted it as such.


The figures are all produced by Bicorne Miniatures and have been painted with a mix of Vallejo's, Citadel and mostly Foundry colours.

Saturday, 26 January 2013

Queen's Regiment of Horse - Colonel's Troop


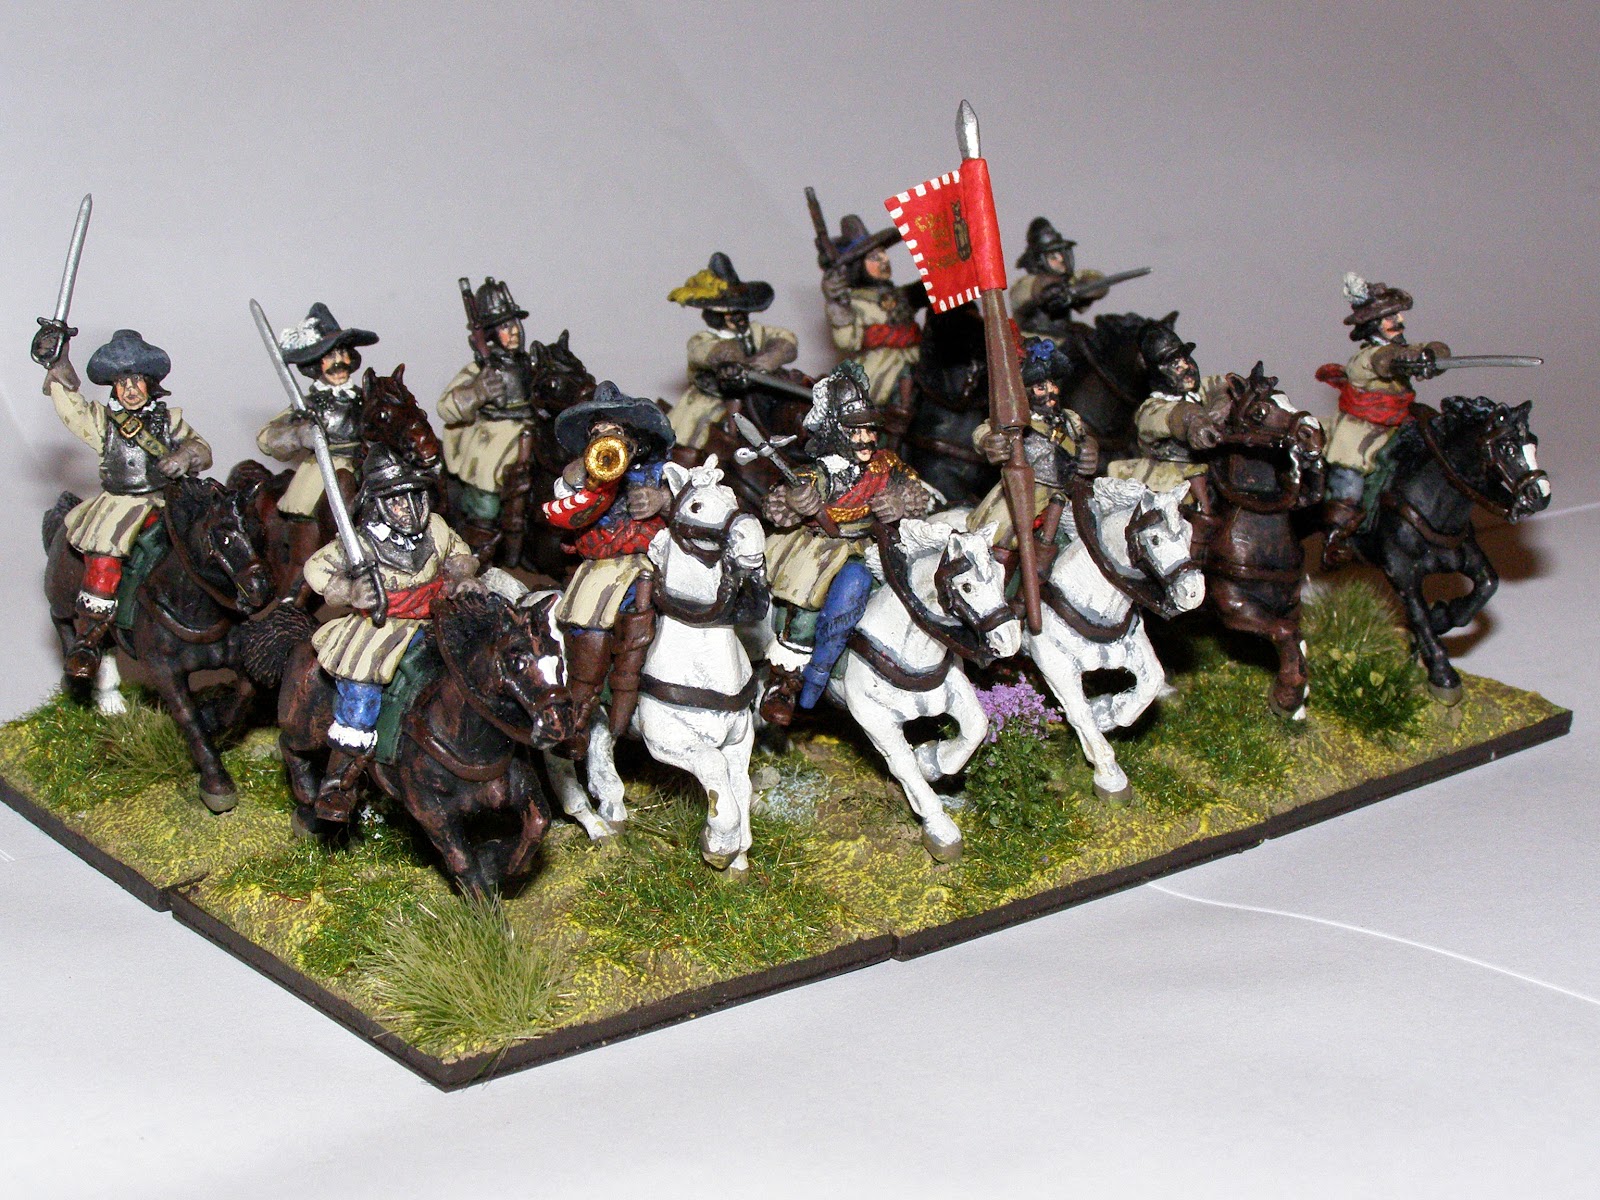
Another unit of horse comes thundering on to my blog! This time it's the Queen's Regiment of Horse, another famed regiment from the English Civil War.


This regiment was formed in early 1643 when Queen Henrietta Maria returned from the continent having pawned the Crown Jewels for arms.  Arms and munitions for 10,000 men came back with her, along with many French volunteers.  As the Queen passed through the North of England, many volunteers joined her and new units were formed. The Queen's Regiment of Horse being one of them.  Many of the French volunteers thought this a suitably attractive regiment for them to join also.  The Colonel's colour is appropriately adorned with the Fleur de Lys.


The regiment was well manned with volunteers and was one of the larger regiments of Cavaliers, maintaining a good 7 troops of horse even into late 1644. The regiment fought at many of the famous battles including First Newbury and Second Newbury, Lostwithiel, Cheriton and Naseby.  Though before Naseby the regiment had declined in numbers to about 150 men (source: R.Giglio, www.ecwsa.org/histqueenslifeguardofhorse.html).


Because of the original large size of this Regiment, I formed two wargaming units for this regiment, thus each unit equates to about 3 troops at a scale of 1:20. Each of my units has got one flag, in this case the Colonel's colour for these 3 troops. It looks pleasing to the eye and seems to work, although in reality each troop of 60-70 men would have a flag each.  The second unit will be posted up soon, this unit will have a Captain's colour.  For Naseby and beyond I will just give one unit a different command stand and turn one half of the Regiment into a different unit.


I painted up most of this regiment about 10 years ago.  It orginally consisted of random different bags of Bicorne figures as I just wanted to paint each set up to see what they looked like.  As I bought more figures and produced 'proper' formed regiments, I was left with a unit of odds and sods of a slightly over-strength nature. I hadn't bothered to form them into a proper unit because of the lack of suitable rules for so many years (you know how it is, you buy a new set and play test them...but your are convinced sometimes that it's just your lack of experience with them when they don't play well...so you persist for years and then realise about a decade later that the rules were cack all along!).  Anyway with 'Pike and Shotte' turning out to be superb, this has given me the incentive...so these cavalrymen are odds and sods no more.  I have painted the command stands this month, freshly based them and given them the excellent flags by GMB.  This over-strength unit now holds its proper place in my Royalist army.


Pay day being yesterday, I have already placed another order to Bicorne Miniatures.  This time for more personalities.  It's quite fun doing research on historical commanders to decide what 'Command Rating' they should be given. Several extended lunchtimes at work this week have been spent on Wiki and such-like!

Saturday, 22 December 2012

Pike and Shotte - Second Play-test


With the first play-test four weeks ago, last weekend Ian and I decided upon a second play-test of Pike and Shotte.  For various reasons, Christmas and all the associated evening card writing, shopping and wrapping included, I didn't get to look at the rules properly again until we started playing(!)  This in itself was a test of the rules.  To my amazement we seemed to pick up where we left off four weeks ago. We just flowed straight back into it. (The above pic is from behind the Royalist Right wing on Game Turn 1 - The wall is made from cat litter layers on PVA glue!)

This time I added a bit more in the way of scenery, a few more enclosures, a stone wall and a few more wooded areas.  No open moorland this time but not First Newbury either.  I played Parliamentarian this time.  We settled for a standard layout - a centre of Infantry and a wing of horse flanking them.  Each was a brigade strength each (i'm not comfortable with the term 'Battalia' which the rules keeps using for a Brigade. I always thought a Battalia was a composite unit of Pike sleeved by musket, often by the breaking of a large regiment into two parts forming two Battalia...however I accept I might not be correct in this).  The term 'Brigade' is much more familiar for a grouping of several regiments for me anyway.


Game Turn 1

The dice was with me on the first throw. I got to give my orders and move first.  My first order was to my Infantry; 'The Infantry Brigade will commence a General Advance towards the enemy centre'. This bold order was unfortunately failed as the dice refused me.  Clearly the Trained Bands had some pay discussions to sort out first!  My cavalry and dragoons advanced on both flanks thankfully.  My two pieces of medium artillery started a long range barrage onto Newcastle's regiment of Whitecoats.

Ian's Royalists opted to hold the Infantry for the first move and also to push the cavalry forward. This gave a close stand-off as in the picture above.


The Parliamentarian Infantry Brigade above with gun battery between Infantry Regiments.


Game Turn 2

I gave my Infantry Brigade another order for a general advance and threw a double six (A blunder!!!)  This was my first blunder throw in any play-test, even solo efforts.  With some trepidation I threw again and checked the table. It was a move to the left side a full turn.  Not so disastrous. A rearwards movement would have been a touch embarrassing though, considering how I had set up so close to the table edge! My cavalry advance on both flanks in the meantime.

Ian's Royalists respond by holding still in the centre again (probably to allow his men to laugh at mine!) and by unleashing his cavalry in a full blooded charge on both flanks. I make a response counter-charge with my outnumbering units on the right.  Battle is now well under way. Both of my cavalry units on my right break and flee...carrying away Lt General Cromwell!!! Disaster!  The only positive being that the successful Royalist Cavalry Regiment has been left with sufficient casualties to make it 'Shaken', which appears to mean no more charges for this regiment.

The Royalist cavalry about to successfully charge Roundheads of twice their number.

The effect of the charge...fleeing Roundheads!

The marker says it all; 'Shaken not stirred!'

Haselrigge's cuirassiers on my left are forced to pull back. Only my dragoons on my left behind the stone walls give the Royalists any doubt as to how to follow up.  Things really are not looking good for the Army of Parliament!

Haselrigge falls back to regroup. So let me get this straight. My right has gone and my left is pulling back...It's a good job I still have a centre!

The Royalist Centre.  Newcastle's Regiment are disordered by the cannonballs hitting their ranks (puff of ubiquitous cotton wool!)


An overview of the centre from behind the Royalist lines.

Game Turn 3

My Infantry brigade in the centre at last makes a solid move forwards.  My artillery barrage continues to hit Newcastle's men. My cavalry on my right continue to flee off the board.  Haselrigge's cuirassiers re-group on my left. Things are looking slightly better now.

The Royalists order an infantry advance.  Things suddenly look dramatic as both brigades advance towards each other. Not all of the brigade can advance however. The artillery barrage on Newcastle's has disordered them so they cannot be ordered forward.  The Royalist artillery fire is ineffective.  Both cavalry wings hold to await developments.

Advance of the infantry

One Parliamentary Regiment swings left of the enclosure to block Rupert's Foote.

Game Turn 4

This turn appears to be crucial and so it proves.  I order a charge with my Infantry.  The Red Trained Bands launch into Pennyman's Royalist Foote.  Essex's Regiment give support on the flank.  Pennyman is supported by the shaken Royalist horse.

Up close and personal. The Trained Bands charge into Pennyman's blewcoats.

A wider view of the combat showing supports on the flanks.

All units in the combat add up their scores for an overall victor to be found.  The Royalist Infantry are overwhelmingly beaten in the combat and break completely.....and there we ran out of time!


Summary

So what can I say...what a superb game it was!  We couldn't quite get to a point where a clear victor was found.  I had lost a cavalry brigade on the right early on but the left was quite well drawn and the centre was being won by the Parliamentarian Infantry. Suddenly things didn't look so good for the Royalists.

I did make two mistakes with the rules.  With the infantry combat, even though all of the units in the fight combine score totals to find the winner, I should have thrown for a break test for each losing unit. In this case each musket wing and the pike block is a unit (thus 3 x units).  I instead used the break test and applied the result to all three.  I should also have thrown a break test for the supporting unit - in this case the cavalry unit you can see in the picture above threatening my flank.

The rules flowed really well, and with the small tweaks made in the previous game, this assisted in making it very playable.  I love the order system and how brigade orders make it important to keep brigades together so they are more cohesive and not receive penalties which could upset their orders being received.  This has the wonderful effect of battle-line being kept together and discourages those 'Firework Displays' of units which can happen in some rules.
A final view of the action at end-of-play.

I also like the 'blunder' aspect of the orders.  This is a fun element, but we know that blunders in orders do occur in warfare throughout the ages. This is a very simple way in which to make blunders a possibility.  The skill lies in how the opponent can exploit it quickly.

Movement rates and fire distances seem sensible. Everything seems to function how it did historically. For instance, Dragoons are very flexible, can give closing fire and evade and are great for taking ground like enclosures.  The hard part for them is maintaining ground when under pressure. They do not like hand to hand combat, but can sometimes surprise you!  I look forward immensely to using 'commanded shotte' with the cavalry as I think this will work really well.

There are a couple of minor things in the rules which I don't agree with and will change:  Firelocks should not out-range matchlock muskets. The fire-lock is a change of musket ignition system - nothing more. They do not add extra powder to the charge behind the ball!

The rules on shaken units in brigades not being able to charge need looking at. A small cavalry brigade will quickly become ineffective and may as well leave the table when it takes casualties.  I have read of various ideas of how to improve this situation, mostly in terms of reducing command points or melee dice instead for shaken units (I think I read this on the Edinburgh Wargames website). I'll need to research this further and tinker a bit.

The rules do lend themselves well to minor tinkering and adjusting and indeed encourage players to do so.

Overall I absolutely love the rules and I look forward to playing the scenarios presented in the Caliver Book's ECW scenarios series.  I can't wait for the next game now!

Wednesday, 7 November 2012

Sir Horatio Cary's Regiment of Horse

More thunderous sounds of hooves as from across the battlefield another regiment is re-vamped and re-based ready to join the action once more...(dramatic stuff!)


This is another regiment which I painted originally way back in 1995 or thereabouts.  Again, these had card bases with some awful green scatter stuff on as basing material.  I seem to remember that these were painted at a time that I deemed it necessary to try to speed up my painting, to try and get as many playable units on the board so I could get on with playing the big battles.  Thankfully these days, I accept that it's going to take a good few years before I'm ready for Marston Moor but in my more mature years, I'll not be rushed into doing half-baked paint jobs.  The pleasure now is to see figures painted to as high a quality as I can get them within reason...I'm not after prizes and life is too short to go completely OCD over them.


These chaps are of those earlier days when I used a black undercoat and then brown on the coats and attempted some kind of dry-brush exercise to build up the lighter colours.  I don't think it worked too well and so spent some time, as I was re-basing these, putting on a lighter touch of buff to give some 'life' into the painting.  I would originally have used enamels to have painted these, and it's noticeable that my enamel painted figures have a dull hue about them.  The next pic is a 'before and after' (Mr Broad-brimmed hat is after and Mr Helmet is before):


I accept that on campaign the darker shade might be more realistic,but rather like British Redcoats on the night of Waterloo, do I want tatty soldiers with a campaign look of white cross-belts dyed red from rain sodden wool or do I want decent looking figures on the board.  I opted more for the latter, with fresher colours breathing some life back into tired dull figures.  I did keep the original shade on gloves and cross-belts just to add contrast.


The figures are my second and last unit of Redoubt cavalry.  I probably won't add more from this company, but never say never :-)  They have their plus points and I remember that I loved building them.  Some of the poses are the equal (or better) than some of those produced by more recent offerings from other companies.  I thought the horse castings were pretty good too, with good animation and good proportioning.


From what I understand, Sir Horatio Cary fought originally for Parliament and then changed sides and fought for the King. The unit cornet (hand painted in this case) always amused me. It makes a pointed reference to the Earl of Essex with the words 'Come out you Cuckold' and a dog (if I recall correctly) poking his head out of a barrel, hinting at domestic strife within Essex's household!


Saturday, 20 October 2012

Earl of Northampton's Regiment of Horse


As much as I like painting infantry, there is something quite powerful stirred in the imagination in seeing a completed regiment of model cavalry.  Here is the Royalist Earl of Northampton's Regiment of Horse, finally complete and ready for action.

I must confess that the bulk of the painting work was done some years ago....probably around 1994 if I should make a guess. I have spent the last couple of weeks carrying out the re-basing work and doing some minor touching up work on the figures.  It's quite funny how 18 years ago card bases with green flock sprinkled onto green paint looked quite good and was very acceptable.  Nowadays we all seem to make the bases as pleasing to the eye as the figures, and it does seem to be very worthwhile.


The figures are from Redoubt, and I have to say, back in the early 1990's they really advanced the quality of wargames figures generally with these. The torsos are separate to the legs and heads so you could build up a good choice of different figures.  If I recall, you could also choose either hard heads or 'soft' heads, being helmeted or un-helmeted.

Since my purchase of these figures, my views on whether helmets of soft hats were worn has changed substantially.  I would think that for any man who could afford a buff coat or a back and breast plate, a good helmet was the first thing you would purchase.  The head seems to have been such a major target in most forms of slashing sword combat. Le Marchant's sword cuts in his cavalry training manual in the early 1800's seemed to focus on the head, and in Kendo the head always takes the greater part of thwackings (technical term...not!) as my head would often ring post-Kendo lessons!  I cannot but help think that wearing a soft hat in a cavalry melee would equate to taking an early bath in sports-speak (if you could find your head that is!).


As nice as many of the figures are, some of the Redoubt figures do seem to suffer from 'cymbal-itis'.  The condition of where a figure has clearly gone to a heavy metal concert and fell in front of the drummer just as a   great big hairy bloke slams his cymbals together in a crashing finale.  The head is narrow and squished - demonstrated here by the Guidon bearer (Cornet) in this shot above.  There are a few figures like this unfortunately and is the main reason why I probably wouldn't add to my forces from this company (I have another regiment or so which I bought in the early 90's which are yet to be shown).


I always liked the pose on this figure (above). A hearty yell and a swing of the pole-axe.  There are a number of good aspects to the Redoubt figures (oh why the squishy heads!). I also like the detail such as lace-work over the top of the boots and also the good number of sashes worn by the cavalry figures.     I do think that the sash/scarf would have been an essential piece of wear in a melee, if you didn't want a wheel-lock pistol from a friendly cavalryman pushed against your back and fired because of mis-identification in the swirling confusion of action.


Another shot of just the command stand.  I think I have enough re-vamped forces to have a brigade a side battle of Pike and Shotte tomorrow, just a solo play test effort in readiness for the larger battles to follow.  I can't say just how much I am looking forward to that after spending 5 months or so on these solidly this year already!