Tuesday, 2 October 2012

The Red Regiment - London Trained Bands

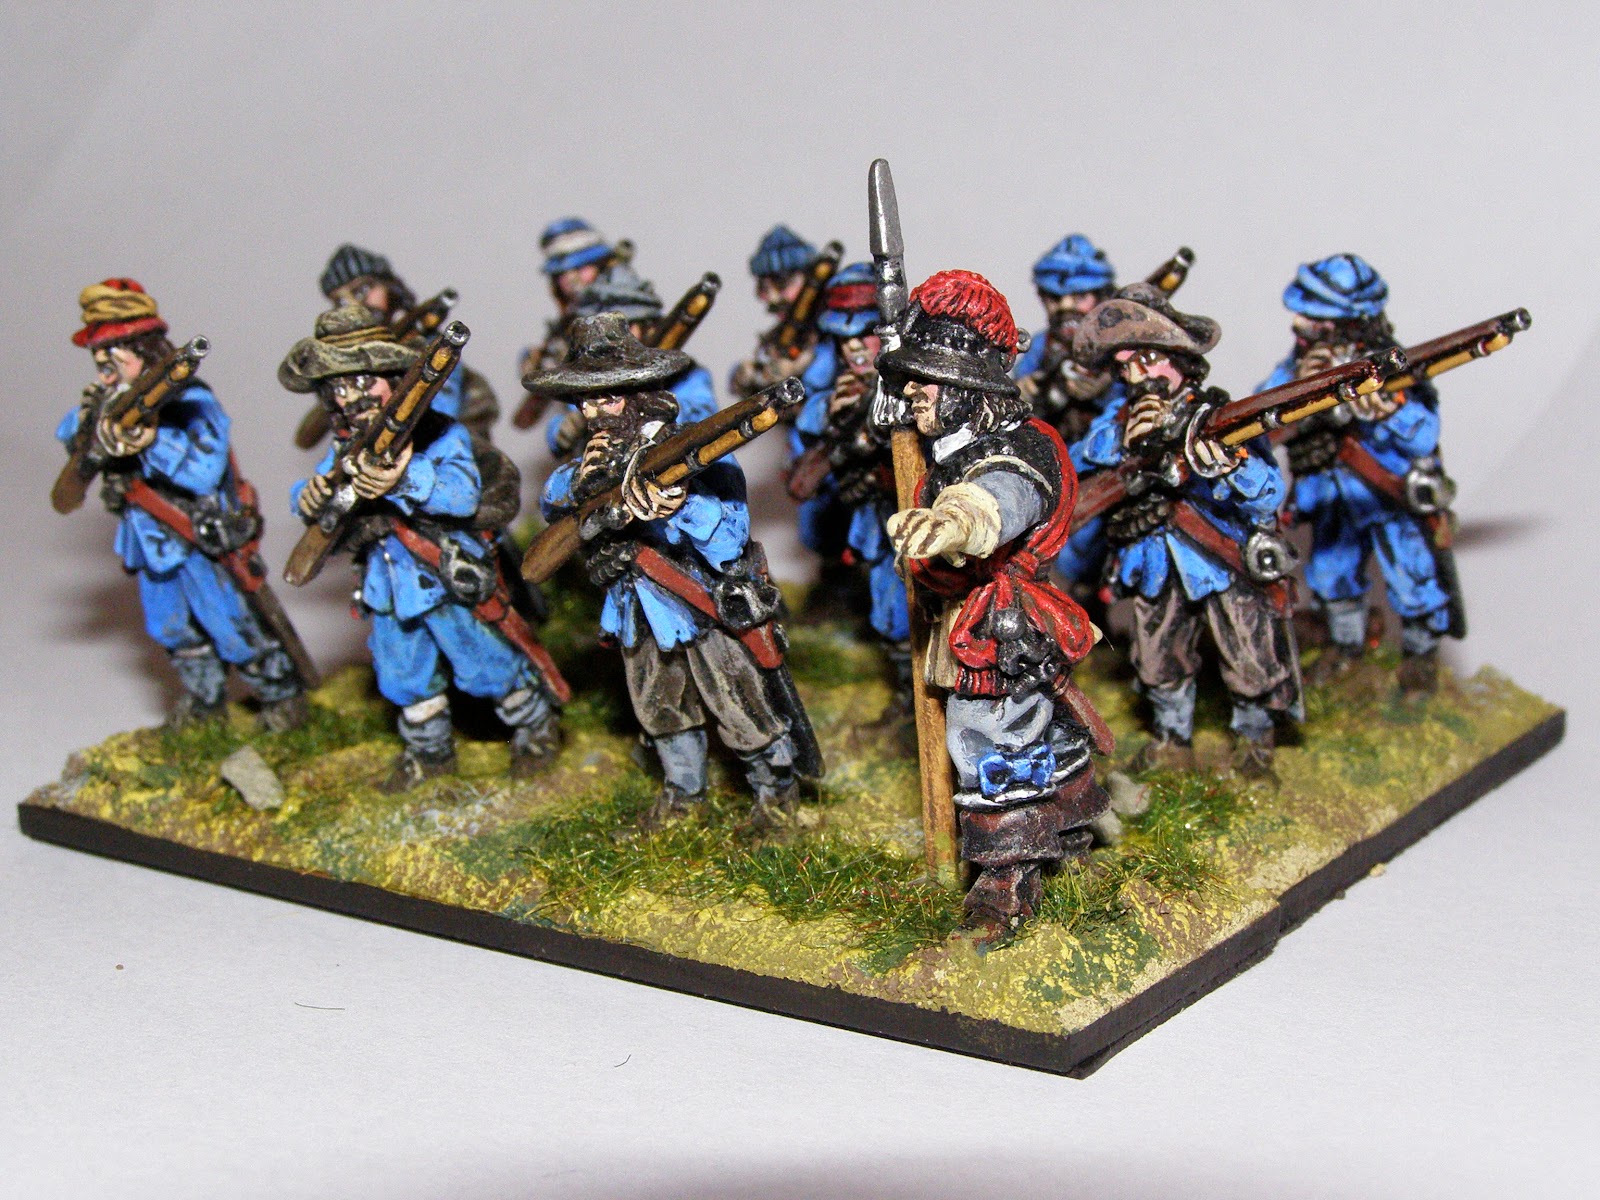
Another one done!  The final musket wing now completes this unit. It's all fully manned, and newly based and ready for action.


This regiment presented somewhat of a dilemma as to whether to represent the buff coats which Trained Bands troops are often portrayed.  The jackets on these musketeers are really too short to paint buff in the hope that I could get away with representing sleeveless buff coats.  In the end I settled with some pikemen in sleeveless buff coats but musketeers without.  Another dilemma was whether to have the trained bandsmen in civilian jackets or red ones - different modern authors seem split on this one.  I decided to go for an issue of uniform coloured jackets, but kept personal touches of different coloured ribbon ties on breeches to show some independent spirit on the part of the regiment's volunteer members.  The 'Red' of Red Regiment relates only to the colours carried, the same as the 'Blew Regiment' carried blue ones. (This regiment will follow at a later date!).


I can't claim credit this time for painting the whole regiment.  My wargaming friend Ian painted much of this unit several years ago.  I rescued it from joining a Bring and Buy stand at a show and have since re-based them all.  The musketeers shown below are the ones I have been painting in the last few weeks to bring the unit up to strength.  Buying a nicely painted unit can be a double-edged sword of course if you wish to add more figures, as you have to try to colour match (within reason) and not make your own figures too different in style.


The figures are again the superb Bicorne figures from their English Civil War range and are an absolute joy to paint.

Here are a couple of close-ups:


Well, that's the figure progress of the last few weeks.

I'm going to go off at a slight tangent here and mention that I found an unforeseen problem as I sat down to playtest my new Pike and Shotte rules with these large units of mine...the board is too darned small!  My board is 8ft x 4ft.  This always seemed massive when rules always allowed movement of between 3" to 6"...but these days rules allow lots of big movements it seems (and no bad thing either, nothing worse than an action that took an hour in real time taking 2 days to play!).  I could scale movements down of course but even the starting positions just look too close.  No room for manoeuvre just a head on clash!

So....I'm designing a take-down table which can break into sections and go behind the sofa when I'm not playing.  When assembled it is 12ft x 6ft...much more satisfactory!  I'm divided between buying teddy bear fur and making a super home-made terrain set (and risk making a mess of it!) or whether to buy something ready made from someone like this: http://terrainmat.com/
Has anyone any experience of this firm or similar?  Your advice would be much appreciated.:-)

Thursday, 6 September 2012

The Earl of Manchester's Regiment of Foote

At last! The regiment is complete.The last couple of weeks have been spent doing the final musket 'wing' and the last 4 pikemen to add to my new larger units.  This is how the full 40 figure regiment looks.


The pikemen are all on one stand now which will make movement so much easier.  I have been struggling with this basing (and not just with adding the base texture around the pikemen's feet when there are 16 of the blighters to work around!). The difficulty comes really when facing the King's units at Naseby and other battles whereby it just doesn't really cut it to declare 'Ah these are small units', when you can see a hefty solid block of 4 rows of pikemen!  I think that with all my Royalist units who survived into the later stages of the 1st Civil War, I will make 2 stands for pikemen with 8 figs in two rows.  This gives me the option to create smaller units to get the right feel, which is after all, something we all strive so hard to obtain.

Anyway, this is the final musket wing:


Some close ups of the Musket Captain:


Hmmm ...a bit blurry that one but at least I lost the shadow!  The following two snaps are of the completed pike block.


And finally another regimental picture. If this was a modern British Army regimental photo there would be black labrador sat in front of the Colonel!


More English Civil War troops to follow. I am determined to do more to re-vamp my old armies. There is a lot more to go but the progress is good so far.  I need a lot of command figures and odd and sods to get my Foundry regiments up to the same 40 figure strengths.  I am still loathe to get Foundry figures to fill the gaps, despite the recent changes at Foundry. They are going to have to win my confidence back!  I'm going to 'Colours' at Newbury this weekend so will see how Perry troops compare to the Foundry stuff in size terms. Hopefully I won't succumb to too much temptation and buy new ranges...we will see!

Thursday, 23 August 2012

Musketeers of Sir William Pennyman's Regiment of Foote

These are the photos of my current project. To completely re-vamp, re-organise and re-base my English Civil War collection.  I have been working on a few things at once (really shouldn't do but hey I am a wargamer!) but at the same time as doing the casualty figures I have also been working on these musketeers.


These are a musket 'wing' from Sir William Pennyman's Regiment of Foote.  The figures are from Bicorne Miniatures and I have to say I absolutely love the range and have done from the day I first saw them.


I love the detail; the holes in the uniforms, the patches, the individual characters. I like how the muskets have a solid look about them and with so much detail.  Some companies have figures with awful stubby little muskets...not these...these have heft and are a joy to paint.


Traditionally I always seem to have used too dark a blue for my ECW figures.  They looked more like Frenchmen with broad brimmed hats.  I did my research with these and looked at the re-enactors from this regiment.  Their uniforms have a lovely 'washed out' look, just like I would imagine vegetable dyed clothing would look (actually I say that but what vegetable is blue?..I know nothing of dyes to be honest!).  Anyway I like the faded look. Campaigning in sun and rain must surely have faded the uniforms quickly.


A few rear shots of this Royalist unit.  I really like the way that all of the equipment is visible and also a pleasure to paint and bring out.

You can have some fun with the details:


It took me hours to light all the match-cord! (only joking, but you can add little details like this with ease and it just adds something to the figures).


Here we have the new wing joined by the one I completed and re-based previously.  I just need to purchase a pack of pikemen and I can finish the pike block. I will have a whole regiment complete then.  I must be mad making 40 figure regiments, but it does look so good on the table!

Sunday, 19 August 2012

English Civil War Casualties

A gaming essential for me is casualty figures.  I always used to remove figures to show casualties.  But I always used to have a lot of single based figures to move around though...just in case I ever wanted to play skirmish games.  For this reason I kept many figures individually based.


I have come to realise that skirmish games just are not my thing. I like to recreate battles, the larger the better!  It must be an age thing, but during my game turn moving single figures has become more and more irritating, especially those in pike blocks. Figures falling over, pikes coming adrift, armies taking forever to move etc. So I now like to base large. I like to base as many figures as I can on a base as long as it gives enough flexibility to recreate formations on the board without having to use a marker saying 'square' and such like.

So with this in mind. I need to show casualties. I have found these bases superb. I use them for my ancients and now I'll be using them for English Civil War too. The figures are from Warlord Games, the bases are from Forgeworld.  With the dials I can keep track of casualties during the game and also those in the current turn.


So I can retain the ubiquitous blobs of cotton wool for disorder or a multitude of other things, but casualties can now be shown like this.


I tried not to go too overboard with blood and gore but this particular figure (above) needed something to indicate his spectacular unfortunate demise.


Some of these figures would make a great vignette to be shown with surgeons or body robbers and such like.


Not the happiest of fellows (Can also be used for constipation vignettes!)


(For my own note - this closer pic and the following used the macro S1 setting but no flash - just ceiling light on). I really must go on a photography course or something!


Anyway, these casualties should be enough to supplement my painted completed units to date. More battle units are needed...and hopefully in the next day or so another will be completed. Painting inspiration gained by a visit to Broughton Castle today should lend more speed to the brush...watch this blog! :-)


Wednesday, 1 August 2012

Going for it! ECW Infantry

Another post from me so soon? Well yes, this time with re-based English Civil War Infantry.  Again, I have gone for larger bases for what were figures based in 3's or as single figures.  Getting them out of the boxes now is a pleasure rather than something to dread.

First up are the Earl of Manchester's Regiment...or at least one of the musket block.  I am using 'Pike and Shotte' as my guide for my basing now...and I don't care what rules I might move to in the future...this is it... I will keep this base sizing!  Pike and Shotte actually go for a two deep musket block, but for me two deep is something I keep for Wellington's men or Seven Years War linear formations.  ECW musket blocks had depth, rarely less than 6 deep, often 8 deep at least at the start of the Civil War. So for me, 3 deep is the way it is going to be.


The figures are a mix of Bicorne and Renegade. Both had the same sculptor and both companies produce beautiful ECW figures.  I like the Bicorne ones in particular, they seem to have virtually no flash to trim too.
I was unsure whether to base them on one large base as per the pikemen, but if I wanted to represent hedgehogs then I needed to be able to separate the figures.  In the end I went for one row of 4 and two stands of 4 square. If i wanted to represent severely understrength units I could always have the option of removing the row of 4...or add them to another unit to go 4 deep!


A close up of some of the detail.  I do love these figures. On many figures there are rips and tears in the clothing, patches too...plenty of detail to please the painter.

Now the next batch of figures were actually painted by my fellow gamer, Ian.  I purchased these from him as I couldn't bear to see them go to the Bring and Buy at a show.  These are painted as the Red Regiment of the London Trained Bands. It's very rare that I buy second hand figures without re-painting them.  I decided these were good enough for me without getting the brushes out.  I have re-based them though as I did for the Earl of Manchester's.


The pike block are all on one base.  This is going to make moving them during a game an absolute pleasure and should be trouble free, nothing worse than a single pikeman falling over as you try to move them and then of course you get stabbed to bits trying to retrieve the fallen fellow!  Putting the basing material and painting over it was a bit tricky but not impossible. I really needed the figures in place so I could go between feet etc.


Finally a view of my standard unit sizes.  One musket block of Manchester's is standing in for an incomplete Red Regiment musket block wing.  It seems 40 figs is going to be my standard unit....well it seems to have a good solid feel about it...though it's going to take me a little while before I have enough troops to get to play Marston Moor!


Tuesday, 24 July 2012

A change of period!

Well, as I had been threatening to do for a while, I have changed historical periods.  I always go in circles like this. My circles normally last between 6 months to 2 years then I get into something else, depending on what inspires me, and then I return to it several years later. So having obtained my copy of 'Pike and Shotte' rules and being suitably inspired I decided to re-vamp my English Civil War armies.  Some of these figures I have had for over 20 years. The Minifigs troops I started with have been retired, as have my Hinchliffe and Old Glory figures.  This leaves Bicorne, Renegade, Redoubt, Foundry, a small smattering of Essex and a few 20 year old Front Rank figures.


I think these are Front Rank

I started with 'Forlorn Hope' Rules which I used to read avidly in the 6th form centre at my school between lessons (so 24 years then!).  These rules I used until about 10 years ago, when I just despaired at the slowness of the games. It seemed to take 2 days to play an action that might have lasted 2 hours in reality!


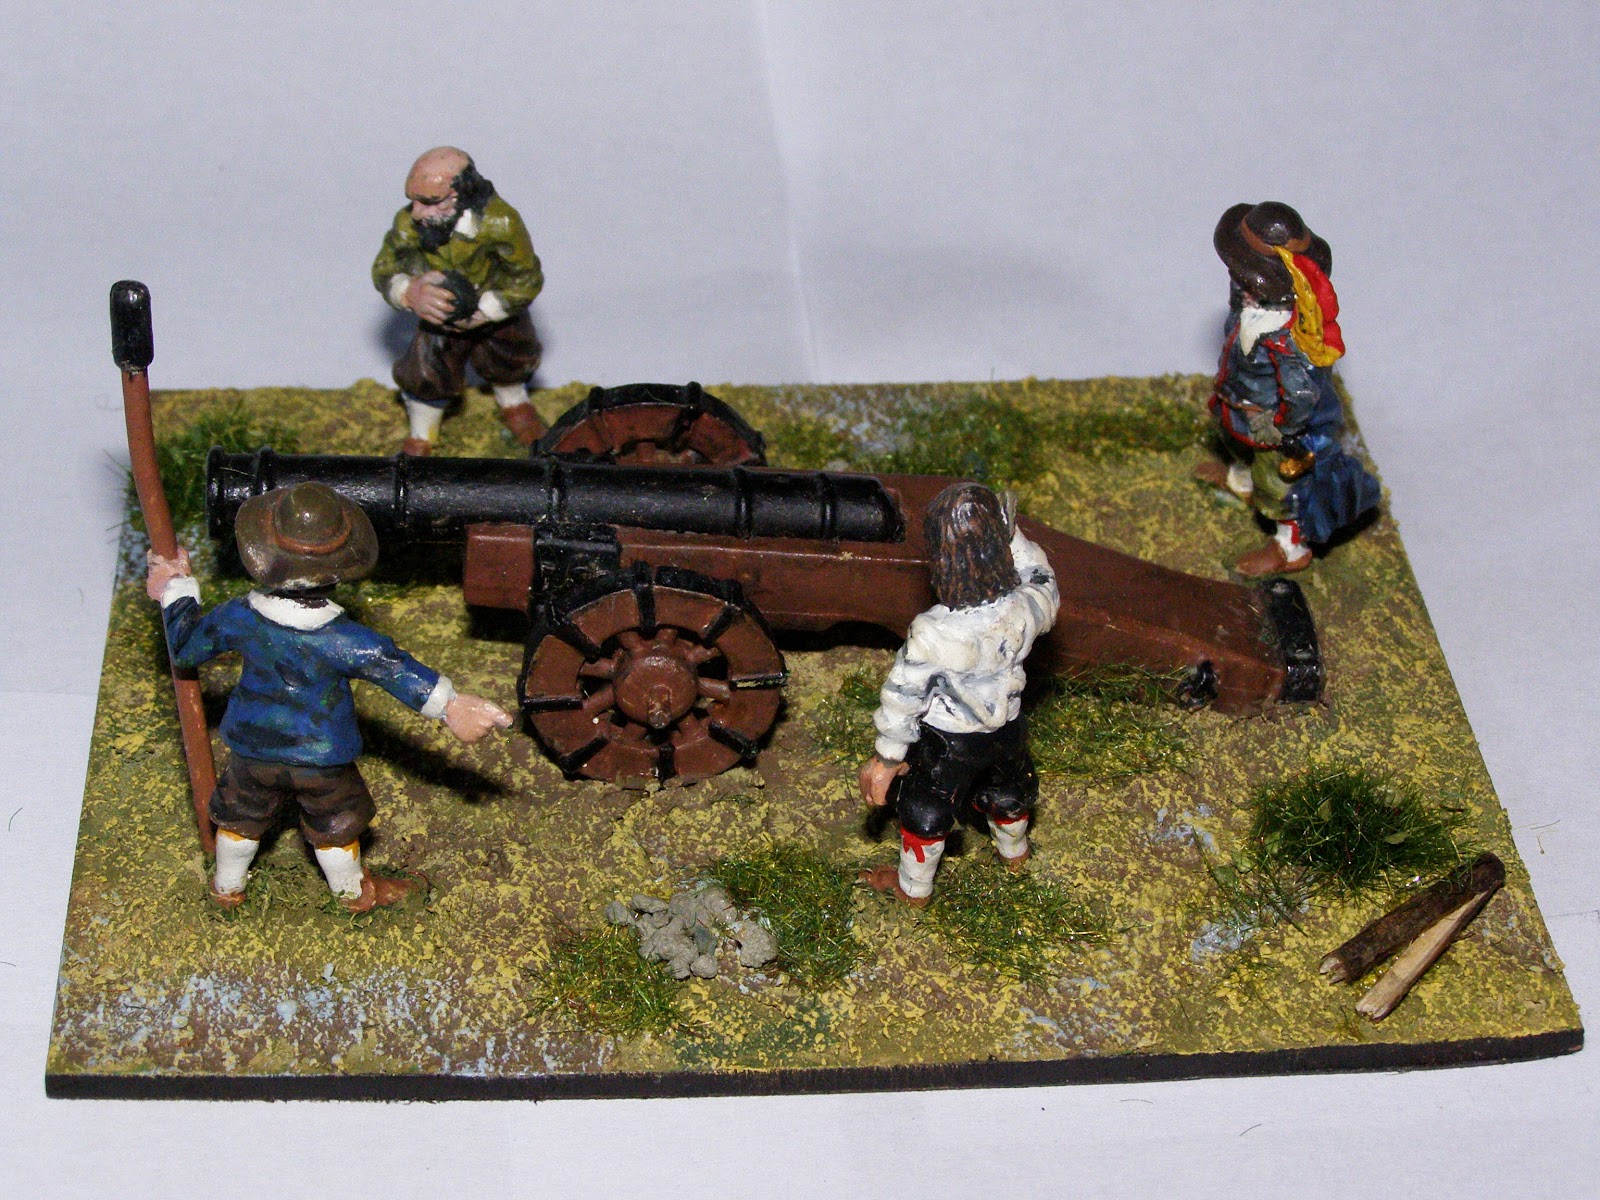
A nice Redoubt gun and crew

I tried Warhammer English Civil War, but despite the beautiful cover artwork and the glorious glossy pictures, I was unhappy with them.  The artillery is nuclear for a start!  I think I spent 4 years tinkering and re-writing them and then I played 'Hail Caesar' and thought...'Hmmmm I can picture this working with English Civil War' and then I heard that a set specifically for ECW was being brought out!  (Oh all my lucky '6's happening at once!).


A hefty piece and crew by Essex

So I have started the big re-base.  I painted all the figures and guns here somewhere between 10 and 22 years ago.  All my artillery figures were based singly and the guns were separate and it was really a pain in the butt getting them out of the boxes and putting them away and moving them on the table.  I am so much happier with them based altogether as a crew with their guns.  I also decided to put a lot more effort into the basing.  Inspired mostly by my fellow bloggers and some of the amazing basing tips I have picked up, in all honesty (so thank you so much to you all for that).  The large bases I have used are MDF pre-cut as my plastic card goes too bendy and I seem to mess up cutting straight lines!  I have also started to paint the edges of the bases in a black/brown colour.  I always used to try to cover the edges in basing material to disguise the edges (see my celts etc in previous posts), but I noticed a trend in the hobby magazines of dark edges, and I think it looks quite nice in forming a frame for the piece displayed and putting the focus on the whole stand.  I'd be interested in your thoughts on this method.


Wargames Foundry Covenanter Frame Gun

That's my artillery so far, though I have two Minifigs galloper guns to base yet if I can find some crew by another company to put with them. I want to get those complete for recreations of the Battle of Roundway Down (A place I visited on the way back from the Wargames show at Devizes this weekend just gone).

Wargames Foundry Mortar and Crew

I've changed my photography technique too, using curved white paper as a background and using flash and no macro this time. I also found a handy setting called 'Cuisine' which I think is meant to allow you to photograph food in fine detail before you polish it off! (Thank goodness I don't eat much fast food!).  It seems to have avoided the yellowing I was suffering in my photos before, though that might have been caused by the flourescent bedroom light....more experimentation needed I think!


Redoubt useful artillery bits and crewman

So this marks the start of the big re-vamping of a collection.  Infantry and cavalry will follow in due course. Of couse I should say 'should follow in due course'.  At the show at Devizes I bought some 28mm Ancient Greeks and 'Battlegroup Panzergrenadier' for WW2....This wargamer does give in to tempatation! :-)