A Happy New Year to you all! I am just writing this in the last hours of 2021. I know this is my 2nd post in less than a week after an absence of 6 months, but I wanted to do one more post to finish the year on.
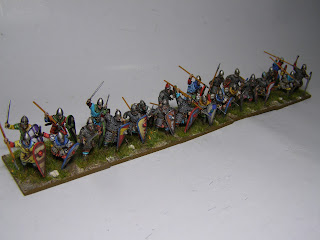
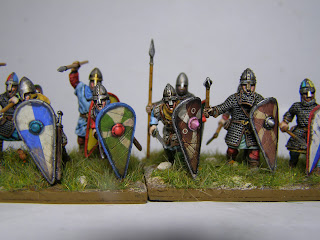
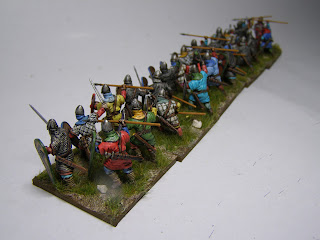
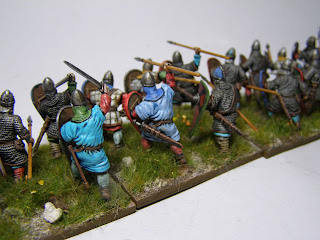
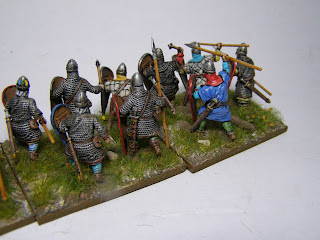
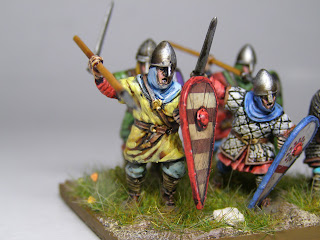
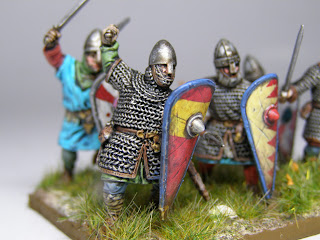
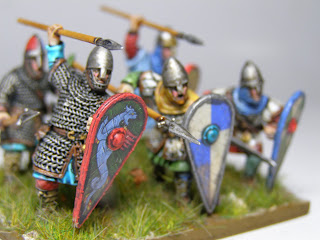
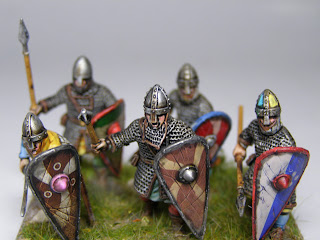
These are the plastic 28mm Norman infantry from Victrix. I must say that I really enjoyed building and painting these. There are many options of heads and weapons and I don't think that I have two in this selection (it is only about a third of the pack shown here!) that are completely identical.
The figures are slightly taller than the Old Glory, Conquest Miniatures, and Gripping Beast that my Norman Army is so far comprised of. If I keep the Victrix figures in their own units then I think it will not cause issues.
I have been continuing to experiment with new painting techniques. Mainly this is to try to speed up the process. There are just so many things that I want to paint and spending a month on a unit is just too long. I have bought a set of Army Painter washes and used these to do the lowlighting.
My method now subdivides into 4 'blocks': 1 Basic Painting - starting with a black undercoat and then a semi drybrush of white to show details and yet leave black in the deepest creases. I then use light shades for the clothing and skin (in Foundry paint terms this is the lightest 'C' shade). This light method is continued on everything, wooden weapons shafts, leather etc. Only the weapons are not done with a silver but a medium metal shade.
This is then followed by 2. The Wash Phase - I apply appropriate washes. By appropriate I mean green wash over greens etc and flesh wash over skin etc. Where there is no wash to match the colour I tend to use Army Painter soft tone. Armour and weapons gets 2 coats of Strong tone.
Next is 3. The Highlight Phase - I go back over with the light colours on tops of creases and put detail on, such as eyes, lips etc, lace work, hair and beards etc.
Finally phase 4. The Final Bits - this is black lining in (this should be minimal as the shades should have done the work), highlight metal with silver etc, dry brush Vallejo Iraqi Sand to bring out leather, wood, and hair detail. I also use a black paint pen to draw around the inside edge of the shields to sharpen them and introduce shadow. Matt varnish spray and then semi gloss on plate armour and gloss varnish on sword blades and spear points.
I will no doubt change this process as I keep on doing, painting is a process of constant evolution after all. I probably won't use this method on Napoleonics and will stick to my ABC Foundry/Dallimore system. For troops of a more rough and ready era, the washes seem to do the trick and to be honest, I don't think they look any different to troops that I have spent considerably longer painting.
There are more pictures to follow below, but there is little more to say on the painting methods. I am enjoying the quicker results for sure.
Each time I play a game now, I seem to make a list of anything that seems to be in too short a number and then proceed to place an order. It does seem that each game I play now costs me around £50 now in orders made straight after the game to fill in troop gaps!
Anyway, it's all part of the fun.
I wish you a HAPPY 2022!!!!

