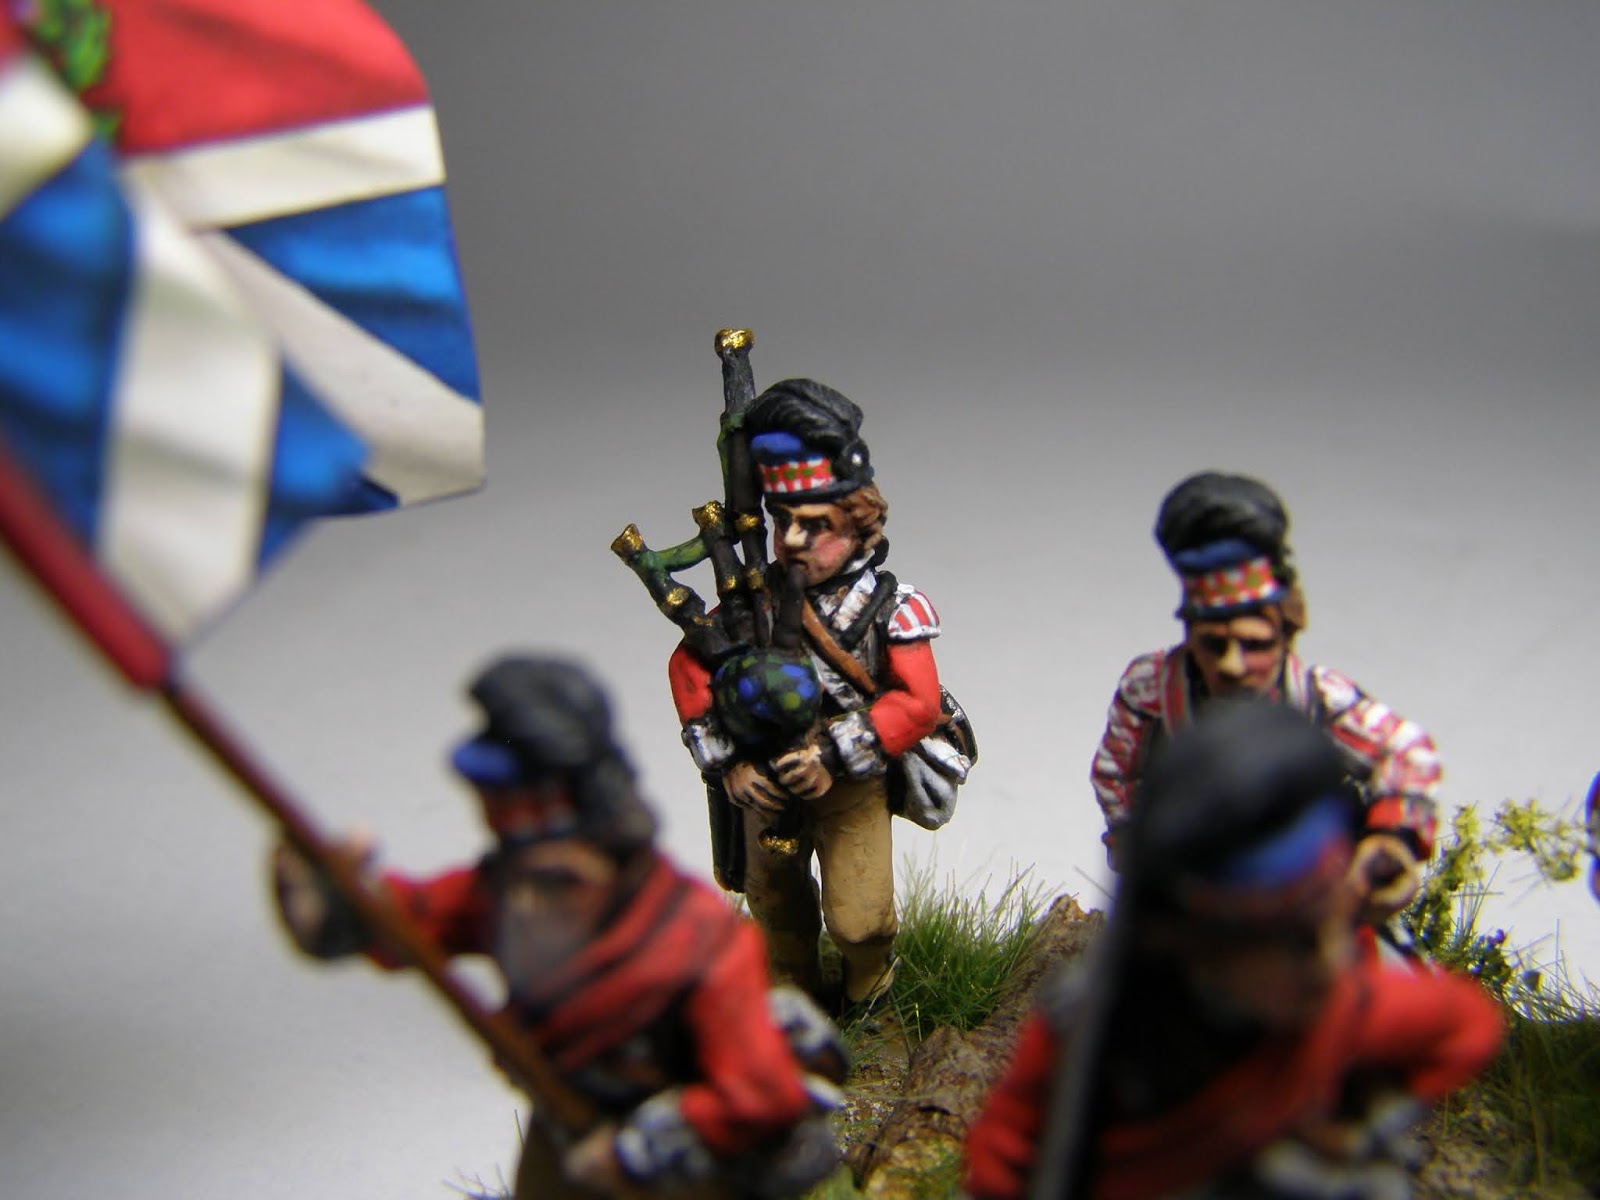
Friday, 13 November 2020

1746 - Battle of Culloden - Entire British Army - 10mm

It's been a little longer than anticipated since my last post.  With the lockdowns I thought that I would be spending much more time being able to write blog posts.   In reality I found that having to home work for two jobs from behind my desk, left me with little enthusiasm for spending any more time at a keyboard.  I am glad to say that the painting has been coming on leaps and bounds and I have done something that I have never yet been able to do.  I have finished an entire army.


Yes, a planned project went to plan and it's not taken 20 years to get close to a respectable level like most of my armies.  Nope, this one really took shape this year.  I finished the final touches at 3am yesterday. I was determined to complete it before going to bed.


The figures are all 10mm Pendraken figures.  I have shown a little bit of progress before in an earlier post but in the next photos we have all of the British Army.


Planning took the form of working out a ground scale using maps of the battlefield and deciding what figure scale would look the best.  I wanted the largest figures possible so that I could enjoy the painting and see the detail.  I knew that 6mm would have worked and with lots of space to space, but I have yet to enjoy painting 6mm figures.


10mm appeared to allow me to create units at an approximate 1 figure represents 10 men scale, so that a 300 man battalion would have 30 figures.  Some regiments had more, others had less but I stuck with 30 figures for an Infantry Battalion.
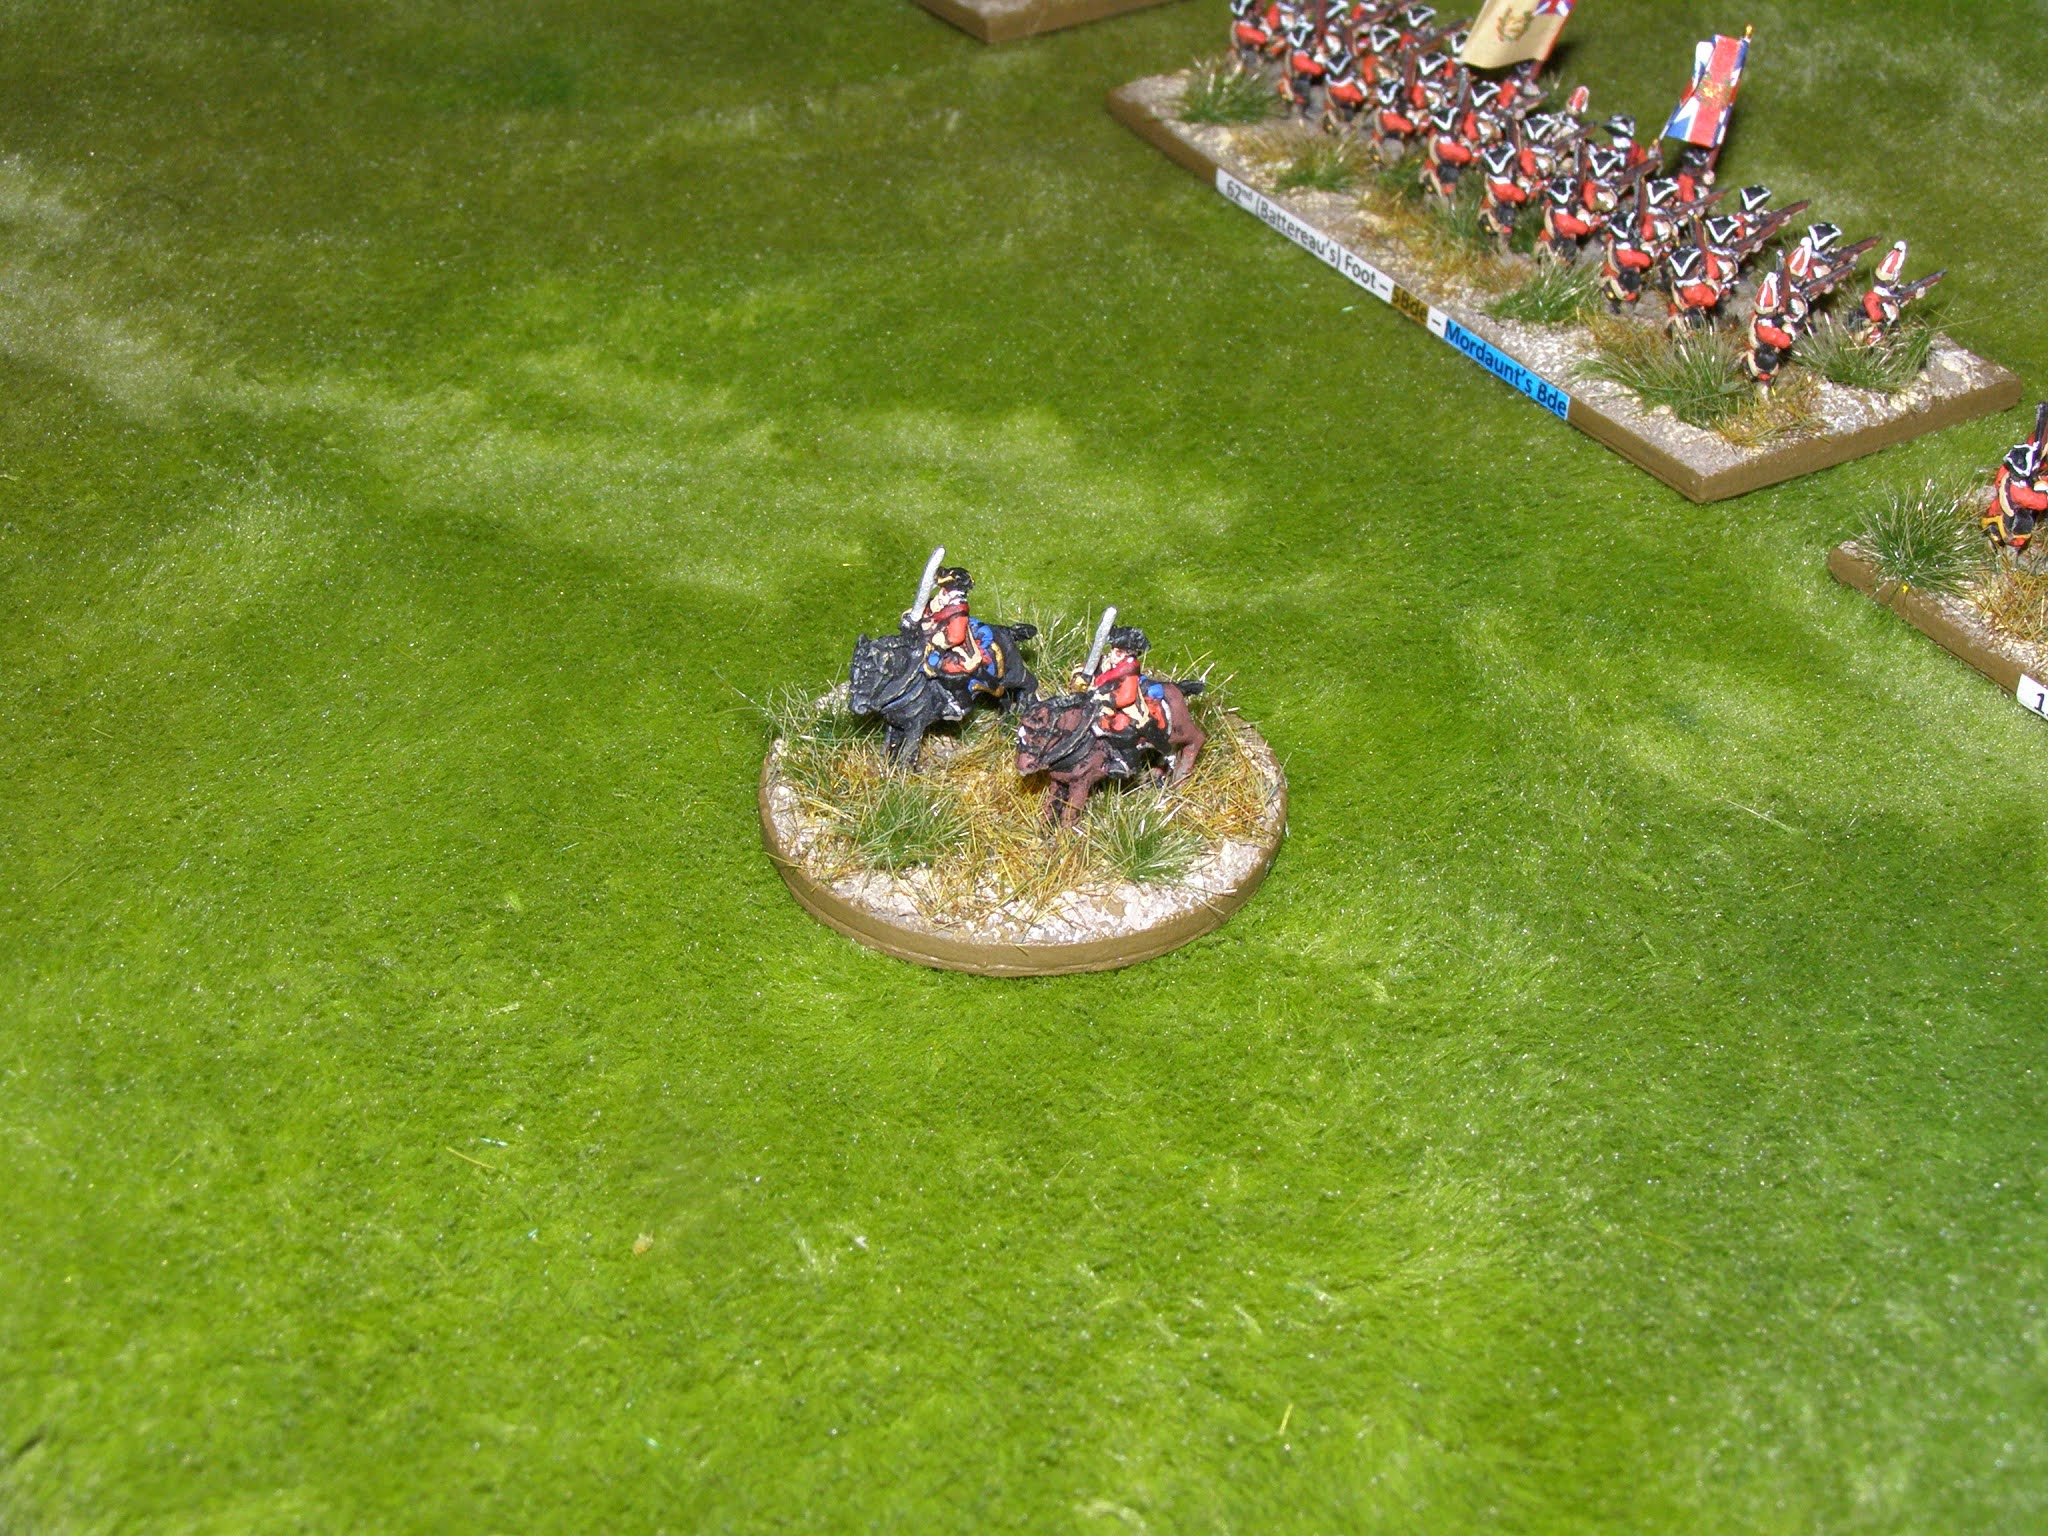

In 10mm I also had space for moving formations of troops and open areas on the flanks.  The decision was thus made and Pendraken's figures seemed to fit what I needed.  


I used the Osprey books extensively for the research and also used a book called 'Like Hungry Wolves' by Stuart Reid. This has a vast number of battle maps showing the evolution of the battle and provided a lot of background information.  The plates are also excellent reference material (painted by Gerry Embleton, so the standard is very high indeed).


I must also mention the website https://www.kronoskaf.com/ which is a superb reference source for the Seven Years War.  This being slightly later of course, but still providing much needed information which often gave me clues when I was stuck for source material.


I have tried to give an overview with the photos of the British positions at the start of the Battle of Culloden.  Some of my terrain is lacking so I have had to make do as best as I can to give some approximation of walls, hedges and buildings etc, but the positions are pretty accurate.


It was an absolute joy to get all of the units in their Divisional groups under their own commanders and see them all formed up.  The desire to see this - and check that my ground scale calculations were correct - have been a massive driving force to completing these.


The cavalry posed an interesting conundrum for me.  Normally I don't worry about things like Squadrons and Troops and just have my cavalry organised in Regiments.  However, at Culloden it seemed pretty fundamental re-think this as the Squadrons were separated off, certainly for Cobham's Dragoons, so I needed to find a solution.


The solution was to use one stand and then form 2 Troops on that stand to form a Squadron.  So a standard Regiment was 3 Squadrons of 6 Troops in total.

Historically, the 10th (Kingston's) Horse in their blue Volunteer coats were understrength so were re-organised into 2 Squadrons of over sized Troops.  I have tried to reflect this by giving them more figures on a Squadron stand compared to the other Horse Regiments.


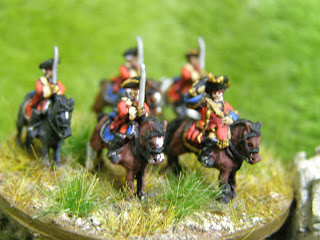

I also needed a way of differentiating between all of the officers.  Here we see Lt Gen Hawley the Commander in Chief above and the Duke of Cumberland as the Captain General of the Army below.

I decided that the number of staff officers (plus the main man) would indicate importance.

4 Staff Officers for the Duke of Cumberland
3 Staff Officers for Lt Gen Hawley
2 Staff Officers for Divisional Commanders
1 Staff Officer for Brigade/Reserve/Advance Guard Commanders


The artillery is also represented. I really like the officer aiming down the barrel (below).


It has been challenging getting the close ups.  Sometimes these images look ok until one tries to expand the photos!    The flags were from Pendraken sheets which I have painted over the top of to customise for each regiment.


10th (Cobham's) Dragoons above.  Plenty of detail here for the avid painter to enjoy.


Above and below here are the Duke of Kingston's 10th Horse (as opposed to the 10th Dragoons).  The uniform is conjectural but Stuart Reid has clearly carried out plentiful research and has changed his mind from the red coat in 'Like Hungry Wolves' to a blue coat in his later Osprey book 'Cumberland's Culloden Army 1745-46.' 


I do really like seeing a good red-coated infantry regiment formed up and ready for action.


Above we have a Coehorn mortar.  These were used at Culloden but not reported to have had great effect. Presumably the boggy ground absorbed the explosive effect of the shells.


Somewhat obsessively I do create under base and back of base labels for all of the figures.  I use a colour coding system on the back of base labels for small scale troops to ease keeping track of who is in which Brigade.


The 64th Highlander's above.  The bonnets appear very light in the flash of the camera.  I do tend to use lighter colours, the smaller the scale I use to try to show a more realistic reflection of light.


4th Barrells's Foot above.  The British Regiment that probably bore the hardest fight on the day


...and finishing off with the 21st North British Fusiliers.  

There were plenty of challenges with this project. There was a lot of research and decision making constantly.  Early on I needed to decide whether to go for the original 3 ranks or a more scale accurate 2 ranks (I went with 3 as it just felt right).  One tough decision was finding that I was 3 'hat men' short in a particular pose.  My option was to swap heads with some grenadiers and use Grenadiers but with hat heads instead, or buy another packet of 30 figures for 3 men!  I went with the head swap. It worked but that was fiddly in 10mm.

Of course...this isn't really the end.  Now I need their Jacobite opponents.  I had better buy some tartan paint!

Thursday, 23 July 2020

American War of Independence - 71st Regiment of Foot (Fraser's Highlanders) - 28mm Perry Miniatures


Having spent since March painting 10mm figures, it was a welcome return to come back to painting 28mm figures for one of my favourite wargaming periods.


On 4th July, I was very pleased to play my first game for ages as the lockdown rules had relaxed sufficiently on that day to permit this. The significance of the date was not lost on me.  The first game chosen was a hypothetical battle set in the Carolina's in 1781. The rules used were Black Powder as they are the simplest 'go to' set that I have, and never fail to give a brilliant game, particularly for this period.  The 'Rebellion' Book written for the rules by Stephen Jones is (in my opinion) by far the best Warlord Games supplement book.


The game was brilliant, even if my Continentals did come off slightly worse. It was still a hard-fought game and it could have gone either way.  Ian managed to achieve a narrow victory and my forces would have retreated at nightfall.  Filled with enthusiasm afterwards I was prompted to put my 10mm troops to the side and paint a unit of  these fine troops from my lead mountain.


The figures are from Perry Miniatures and are of the 71st Regiment of Foot.  The castings were great to paint up and it constantly amazed me to think that I have had these undercoated ready for painting for about 3 years, but I just needed the enthusiasm kick of another game to spur me into painting.


Once I started, I could barely put the paint brushes down.  The Perry's have produced some wonderful characters. This is something that I really missed with painting 10mm figures.  It is just not the same.  It was great just seeing the figures come to life with every painting stage.


The 71st comprised two Battalions.  The 1st Battalion being lost at the Battle of Cowpens, but the 2nd Battalion continued to gallantly fight at Wetzell's Mill, Guilford Courthouse and Green Spring.


The flags are from the wonderful GMB flags range.


Well there we have it, over 2 and half weeks work with up to 10 hours a day spent on them (and other days a lot less).  So far my AWI British are neck and neck with my 10mm British Jacobite Rebellion Army as being the first 'complete' army planned from the outset for one particular battle or campaign.  Each has about 3 units and some command stands to go...who will be ready first?...Or shall I just paint some tanks instead - it does sound easier!

Tuesday, 9 June 2020

Jacobite Rebellion 1746 - 10mm Pendraken - British 10th Dragoons and Royal Artillery


This post sees the addition of cavalry and artillery to my British Army of 1746.  All of the models are Pendraken 10mm.

The cavalry are painted as the 10th Dragoons (Cobhams), who were posted on both flanks at Culloden.


 As I'm trying to create the armies in as closes as to 1:10 scale of the actual forces in the Rebellion (without having unsightly figure gaps or massive wastage of figures).  The historical splitting of the Regiment meant that I had to do two things, which I don't normally tend to do.

  • Think in terms of Troops and Squadrons rather than Regiments for the cavalry, and with Cobham's 10th Dragoons in particular.
  • Use enough cavalry to give the feeling of power./numbers that their appearance must have made at Culloden for the Jacobites to send so much of their forceto  face them on their right flank  (I tend to scale back cavalry compared to infantry and in 28mm this can make sense, 10mm gives more options and space for more cavalry)


I was undecided about the basing  even as I was creating it.  Normally I use a base and proceed to fill it with troops.  Unlike 28mm, I have been trying to reduce Regiments to one stand to save moving multiples of bases per turn.  As described above, the need split the 10th  to cover both flanks meant that I didn't have this option.  So I decided to put two Troops on one base (one Squadron).  This meant a small gap between troops.  It looks unusual, but will hopefully grow on me!  The practicality will become more apparant in the game.  I don't have a need for individual cavalry Troops to run about on their own.


The flags came cast on so required some research and painting.  The excellent resource at  www.kronoskaf.com has helped in so many ways with my British Army. 


The larger number of figures used, 30 figures for Cobhams 10th Dragoons, meant that I could use both the Kings and Regimental colours and it wouldn't look 'flag heavy'.


In addition to the cavalry I now have all of the Royal Artillery I require.  Below are 3 pounders with crews.   I'm still unsure what to do about the artillery in the game.  If I was to issue the guns out to scale then I would need just one piece for the whole army.  This looks a bit wrong, especially as guns tended to be placed between infantry Regiments. 


To cover all options, I decided to paint all of the contents of the two packets of guns and crews.  This gives me options for later. So I now have 6 x 3 Pdr guns.


The Royal Artillery also had Coehorn mortars on the battlefield.  These were not reported to have been effective.  The soft boggy ground at Culloden probably minimised the effect of the mortar rounds.  Even so I decided to include them for completeness, even if it might take some pretty good dice throws to get any hits in the game!


I took the opportunity to take photos of the figures with both my Samsung Galaxy camera on the smartphone as well as with my 14 year old Olympus digital camera.   Interestingly both seemed to perform as well as the other so that didn't really help in my experiment. 

I'm doing my very best to stick with this particular Jacobite Rebellion British Army project.  I have so many other interests trying to pull me in different directions.  Last week I purchased one of the Too Fat Lardies Christmas Specials just to get their Boer War rules and some scenarios.  This has proved to be really interesting and given me a lot of ideas.  The rules really are quite a revelation with their mechanics and I am really keen to try them (which means building an army first!).  Still it's all khaki...how long could it take..!