This is not so much a battle report but a brief overview of a game I had at the weekend using the WW2 Chain of Command rules produced by Too Fat Lardies. The interesting thing here was using the rules for WW1 and seeing how they played for that period.
I have only played a few games of Chain of Command, almost all of these were solo. I have never really been a fan of skirmish games, but the great things I heard about this rule set made me curious to try to them. I must say that I have not been disappointed.
I played several games solo last week just to remind myself of the rules. Even playing solo, it really does give a great game. Throwing the command dice gives a whole range of decisions to make every game turn. Nothing is guaranteed. Friction abounds and plans become unstuck. Unit's won't move and the enemy may yet interrupt your turn if they have built up enough Chain of Command points to seize the initiative. Great fun!
I played the British this time and set up on the long right side of the 8ft x4 ft board. Ian played the Germans and was on the long left side.
The terrain had plentiful areas of cover. Wooded copses and hedgerows covered the board as well as some fields and stone enclosures. A river meandered across the table with a bridge allowing a road to cross it...there were some sheep nearby too!
I really wanted to get all of my recently painted troops on the board. I had slowly built up the troop types and weaponry as I play tested until I felt happy using snipers, tanks, anti-tank guns and a flamethrower. Points and support lists were not even considered. This was a game with lots of interest added! I wanted it all on the table!
Forces:
British:
1 x Rifle Section
1 x Bomber Section
1 x LMG Section (2 x Lewis guns)
1 x Rifle Grenade Section
1 x Vickers MMG
Reinforcements:
1 x MkIV male Tank
1 x Whippet Tank
Forces:
German:
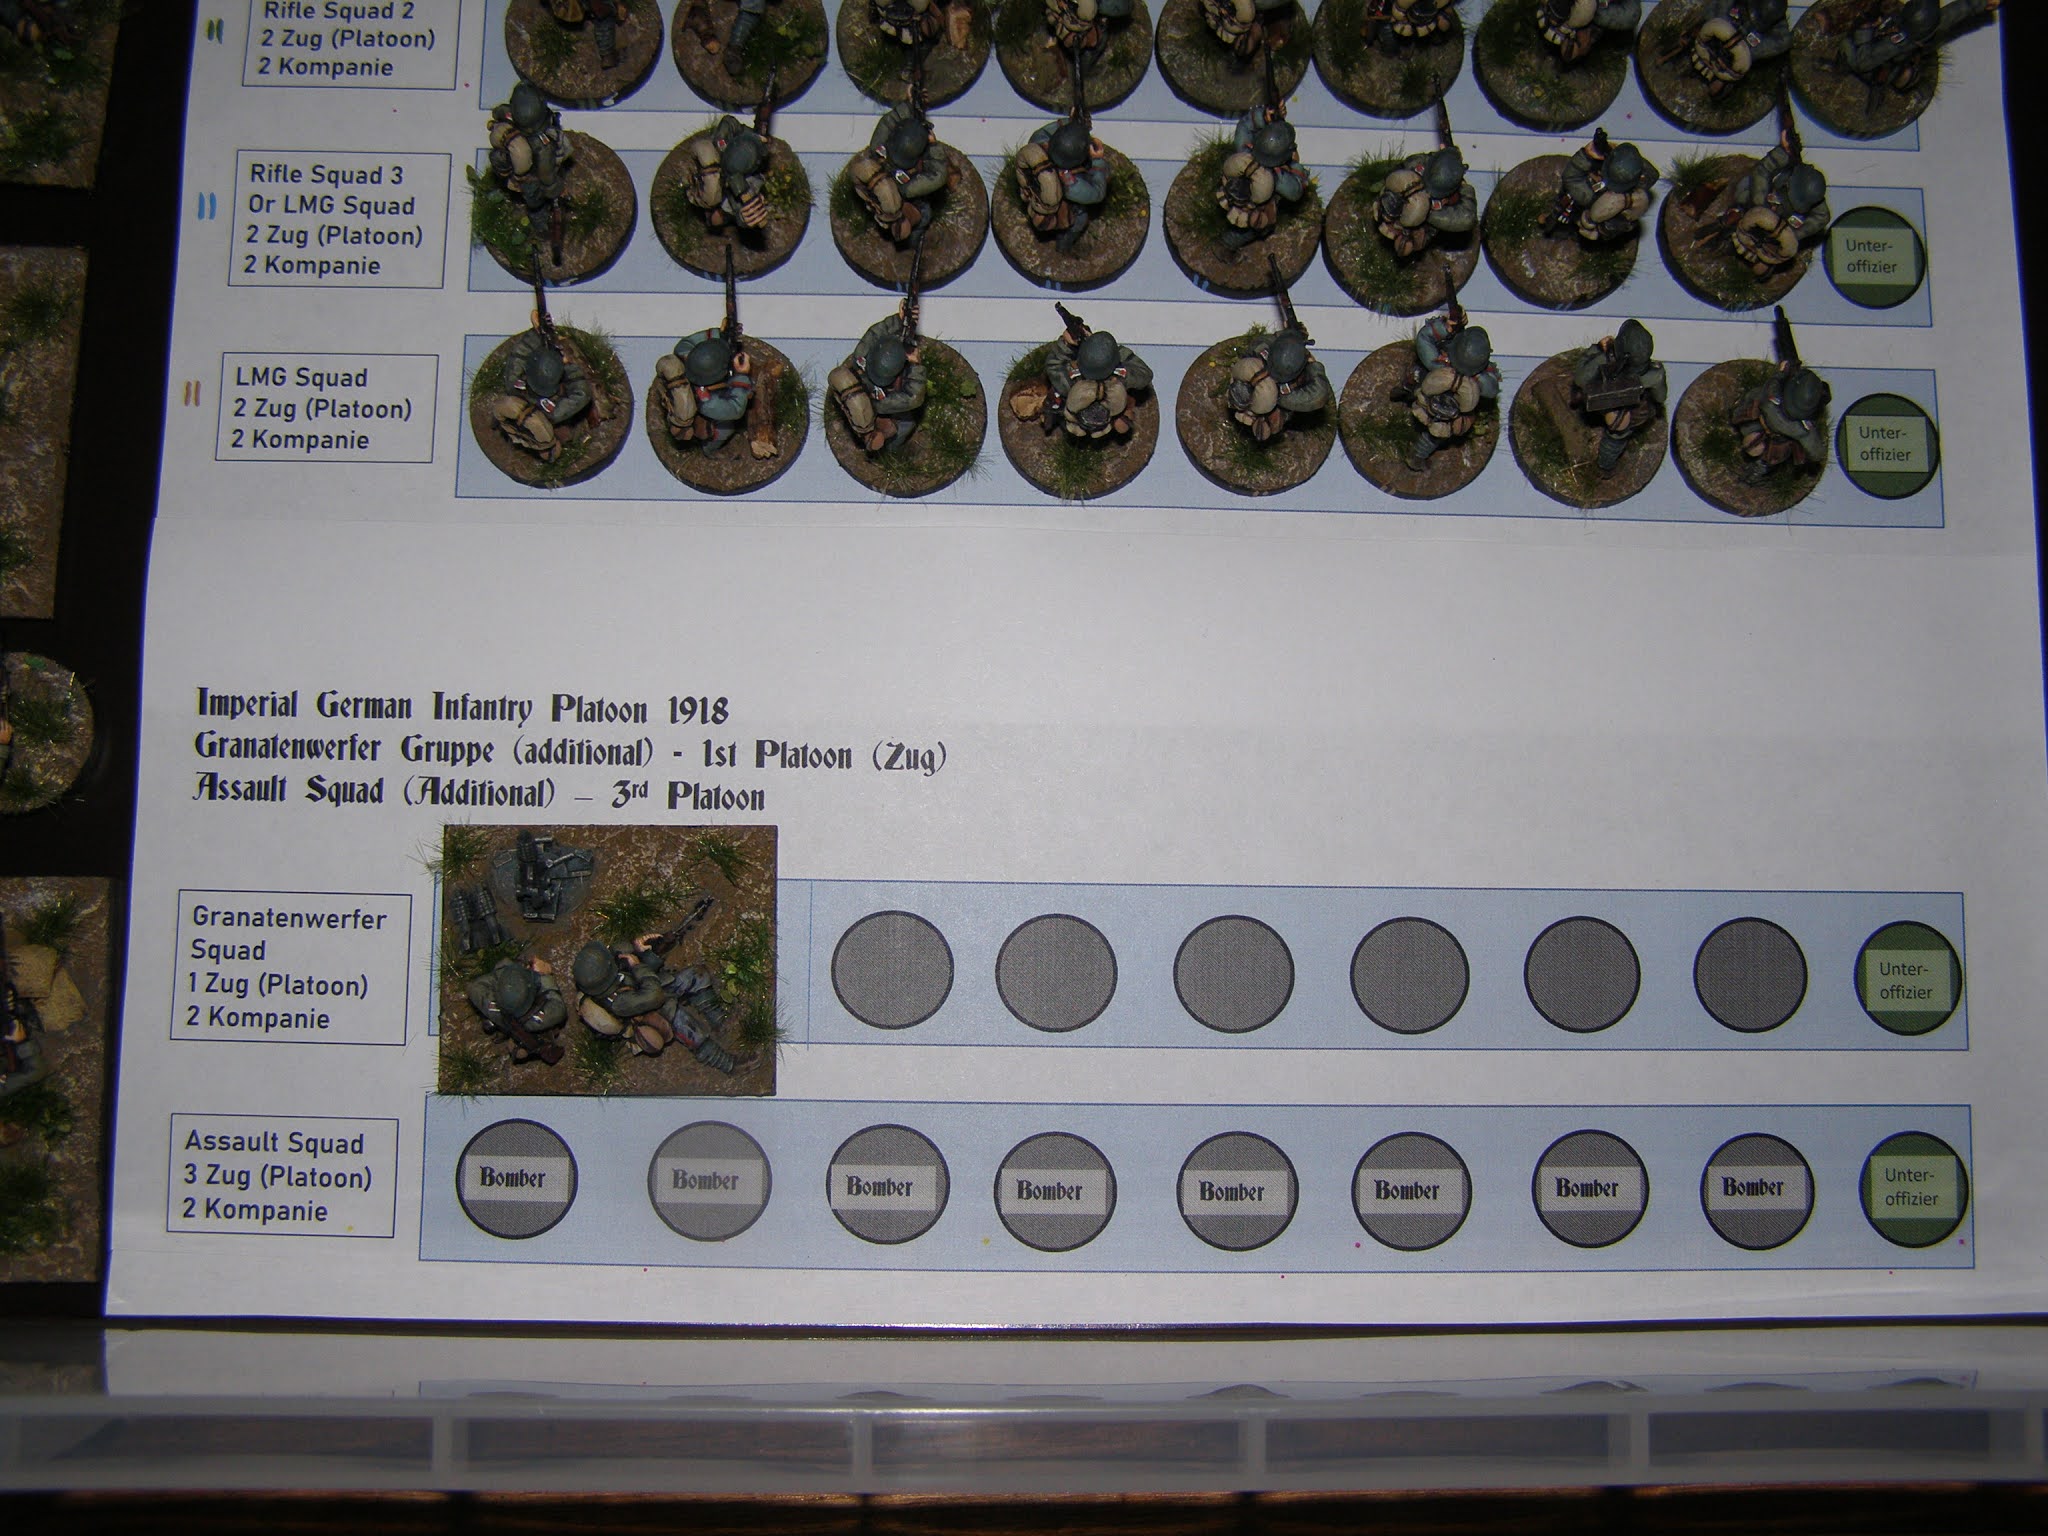
3 x Rifle Sections
1 x LMG Section
1 x Maxim 08/15 MMG
1 x Guard Pioneer Flamethrower
1 x Sniper
1 x Granatenwerfer
1 x 3.7cm Anti-Tank Gun
1 x Mauser Gerwehr-T Anti Tank Rifle
Scenario Overview:
It's August 1918 the German front lines have broken around Amiens and the Germans are in retreat.
The Allies need to maintain the pressure and take key geographic points to enable the advance to continue.
The 5th Royal Berkshire Regiment have been tasked to despatch a platoon to hold a key bridge. 1 Platoon must take and hold the bridge to allow tanks at a future time. 1 Platoon must hold the bridge until nightfall when an Australian unit will relieve them.
The Germans have realised the importance of the bridge almost too late and have hastily sent a platoon of 246th Reserve Regiment to prepare its defence. The first section of barbed wire has been set up as the first British Troops come into view.
Objectives:
British must take and hold the bridge at nightfall (last turn) or break the enemy.
Germans must keep the bridge at the last turn of the game or break the enemy.
If neither side hold the bridge by nightfall (the last turn) or it is still contested and possession is in doubt then the side with the highest force morale will win.
Terrain:
All woods provide cover. Hedges provide light cover. Stone walls are minor obstacles but hard cover.
River can be forded by infantry, treating it as a medium obstacle.
Tanks cannot cross the river.
Barbed wire can be cut by troops using the rules in the book.
Special Rules:
Germans use 'Handgranaten!' special rule which allows the grenadiers in a section to unleash a storm of grenades prior to making a close assault.
Ambush Troops: Sniper and Anti Tank rifle are permitted to use Jump off Points to perform ambushes.
The British MkIV tank arrives on Turn 2.
The British Whippet can arrive from Turn 4 on an escalating dice throw
Most of the rules were modified with the amendments in the Too Fat Lardies Christmas Special 2014 which has a brilliant piece on converting the main Chain of Command rules for WW1. There is an excellent section on tactics in the late war period in the 'Mud and Blood' rules by the Lardies. Additional supplements for WW1 small scale actions have also been produced by them.
There are some great little tweaks to the main rules which make it more suitable for WW1. One example being that by throwing 4 x 5's on the Command Roll D6 dice, a random gas shell will land on the battlefield affecting the whole area for a complete turn and causing effects on shooting and movement due to poor visibility.
The game started out well enough for both sides early on. We were both keen to deploy most of our forces and put our focus on this rather than move up too rapidly.
Ian placed his sniper in the trees to his right side near his deployment zone. There are no silly short distances in this game. Most weapons will fire off the board and a long way on from there too! The full size of the board probably only reflects about 400 yards maximum. So a well placed sniper can cover a lot of the field.
This is where I started making mistakes. I placed two sections including my very strong Lewis gun section on' Overwatch' in woods to try to get his sniper. Unfortunately this effectively hobbled my army as my advance slowed to nothing. Ian in the meantime kept pushing his troops forward to try to get around a flank.
Above we see nasty lane where a vicious close quarter battle wiped out my bomber section and the Junior leader. I was suddenly 4 x Force Morale points down. The Lewis gun team have been redeployed too late to stop the German team from then attacking my Rifle Grenadiers in the flank. However we can see their shock points adding up and their numbers thinning out.
Ian organised his men well and took up good fire positions and ensured he outflanked any determined moves on my part.
I can honestly say that on no part of the battlefield did I gain the upper hand. Instead my mistakes were punished badly and Ian's good plans meant that he gained his objective of the bridge very effectively and with little loss.
The flamethrower didn't play a big part in this particular game.
I did manage to get my MkIV tank on to the board but Ian's anti-tank gun made short work of it, and knocked it out with his first shot on target!
In the end my Force Morale Points crumbled away to nothing while Ian still had 10 Force Morale points remaining. This gave Ian a decisive and well deserved win.
Despite my massive defeat, I thought the game was excellent. Interesting my two previous solo playtests saw the Germans heavily defeated instead so I cannot blame it on the scenario!
My plan now is to use the rules for other skirmish games including WW2. I am still continuing to slowly build my WW1 units and now have extra incentive after playing this. With these superb Great War Miniatures troops inspiration comes very easily!