
In July the 'Pike and Shotte' rules received another airing. This time for a hypothetical game, a simple straight-forward 3 x brigade a side game with no trickery (hidden ambushes) etc but a conventional stand-up battle.

Both sides deployed a brigade in the centre with cavalry wings flanking. This photo shows the full Royalist deployment, and will have to suffice instead of a map. With a bit of time I will find some map-drawing software as some blogs have some outstanding maps and I feel that an illustration will just leave you feeling short-changed, if you have seen those maps. I should also give names to my hypothetical battles, no doubt involving some use of double-entendres -alas this battle is un-named, known only to those as 'Ye 4 x 8 Field' to those who were there....

The view facing my Infantry
I took command of the Royalists and Ian commanded the Parliamentarian forces. We threw for commanders ratings. Waller received a good solid 8 and Hopton a 7 so I was going to be struggling a bit more with getting my orders carried out.
The first game turn commenced with a general advance of the Royalists. Orders were surprisingly obeyed and one turn of movement taken. Parliament held their ground and put some ineffective fire down.

My brigade of Cornish Infantry at the commencement of the battle
Game turn two was similar to that of the first move. Ineffective fire barely bothering my advance. Could I reach the Roundheads without taking significant loss?

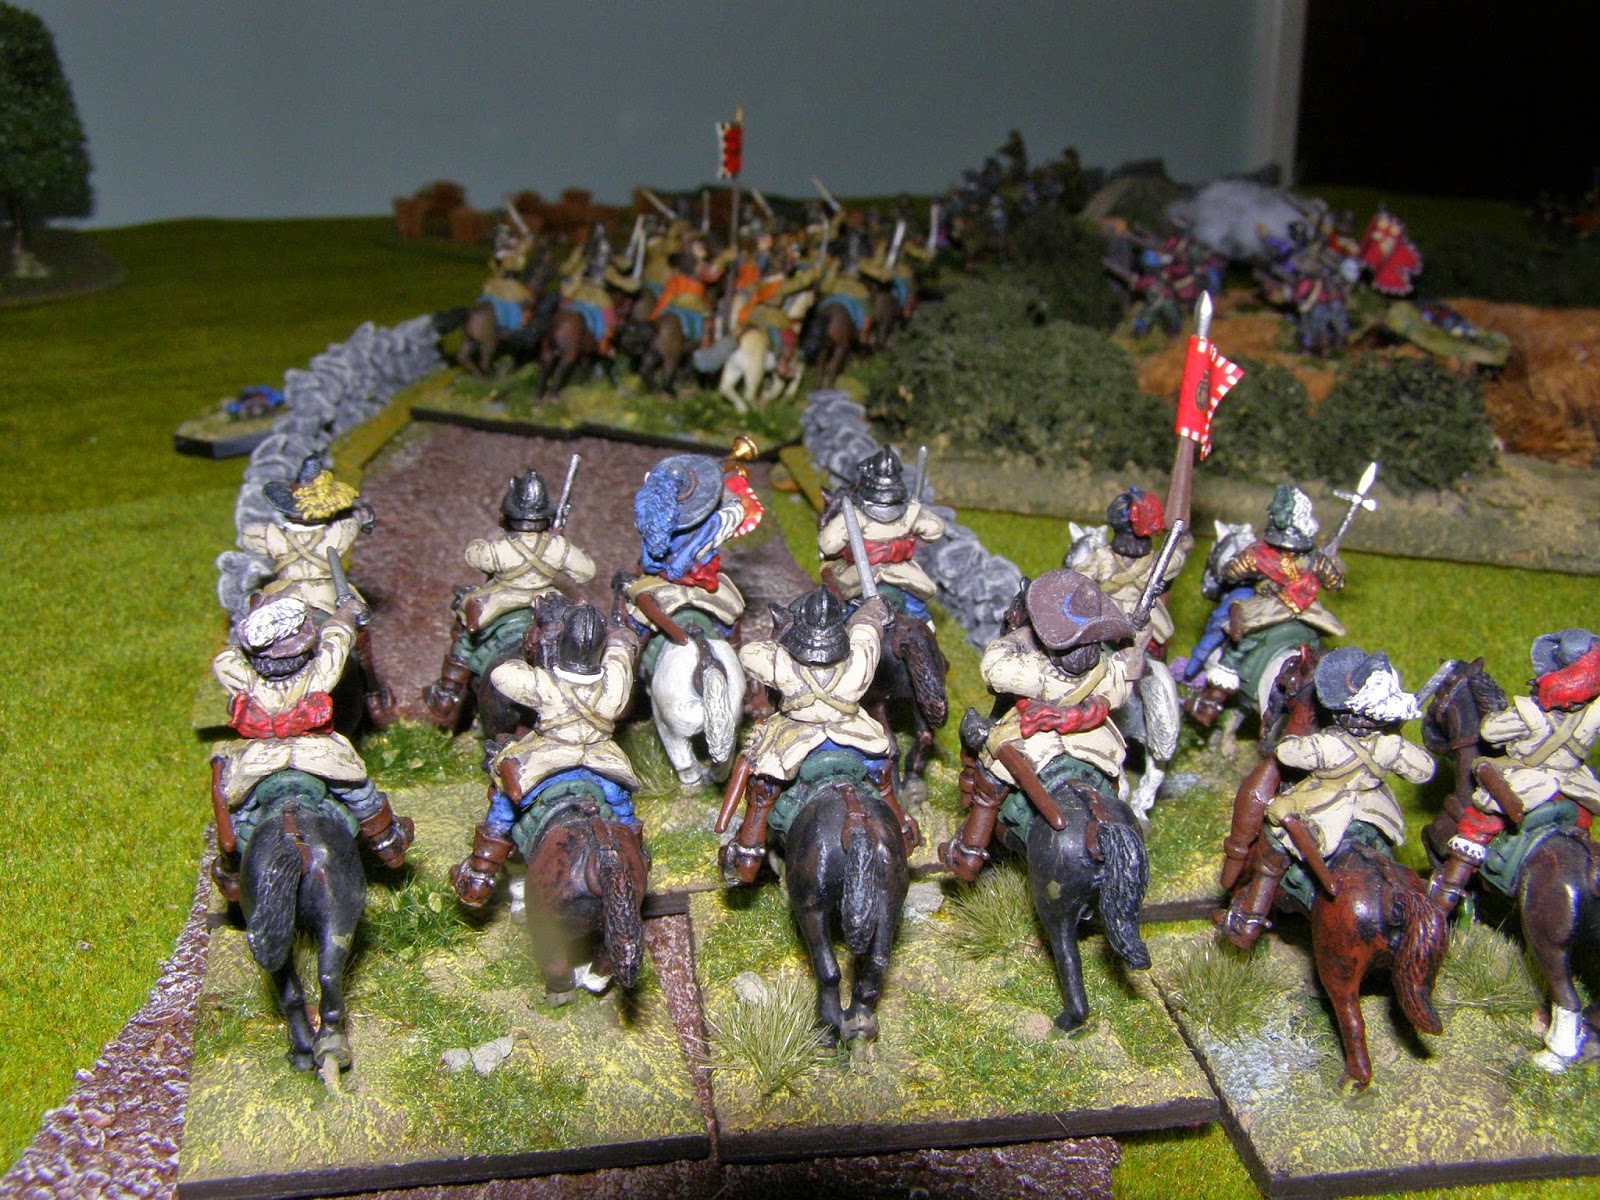
My Royalist Cavalry on my right wing
Game Turn 3 saw the Royalists advance again. My infantry closed further. My cavalry advanced close to face the Roundheads but took fire from commanded shotte musketeers placed with the Parliamentarian Cavalry. These volleys caused my cavalry disorder and gave me two shaken units of the three.


More shots of the Royalist Infantry Advance
Game Turn 4 - now unfortunately here, my handwriting just went to pieces, and three weeks later I can't remember exactly what happened. I just remember it not being pretty! I tried to support my infantry by surprising the Roundhead Infantry. This was from my left hand cavalry brigade as can be seen in the picture above, I have moved them in line with my infantry. My infantry started getting really shot up in the centre and it became difficult to co-ordinate attacks as units fell into disorder.


The battle in the centre - a hard fought action
On my right I made a do or die charge with my cavalry which was being depleted by the fire of the commanded musketeers. This charge went in uphill against Haselrigge's cuirassiers. I was surprised not to find any advantage in my melee to any units uphill of an opponent. Being uphill did seem to be a desirable position (Waller at Lansdown etc), so we introduced another rule amendment here:
To Hit Modifiers: +1 for being uphill of an opponent in melee
The tweaks to the rules are getting less and less. I think the rules are pretty well as we want them now (and we didn't ever make that many changes).
This amendment, however, did work against me as my desperate cavalry attack came tumbling back!


Running up that hill - into a caracole of pistol fire

The Royalist Horse - beaten back and reforming
Game Turn 5. My note-taking stopped altogether - I'll blame the late hour and the complexity of the action which had by now engulfed the table. My cavalry attack on the right had failed and was beaten back where I rallied them. The infantry fight in the centre was brutal.


Although my notes became thin/non-existent, I can tell from the pics that some units routed, others recoiled back to reform while others battled on.
The only real positive for the Royalists was the left flank. I occupied a stonewall enclosure with dragoons to secure the flank whilst I shifted my cavalry from the left to support the attack on the infantry in the centre (if I hadn't then my infantry would have broken).
The fire of my dragoons were ineffective and very disappointing however, even when firing at cavalry in column passing by them. It was bad dice throwing through and through rather than any failing in the rules, I hasten to add.

The dragoons should have emptied saddles - but alas more time on the ranges required!
A lucky escape! One of my left flanking cavalry regiments intercepted the attackers still in column of march and chases them off!
The above pictures show the scary moment when my army was nearly outflanked by a daring route march by Ian's cavalry behind my left wing, risking fire from my dragoons. Taking the road and defended bridge, the Roundheads nearly appeared in the rear of my army. Thankfully I had an uncommitted regiment of horse in reserve which chased off the attackers.
The result and conclusion
Time ran out in the end. In Pike and Shotte it must be remembered that there are a lot more units to move as each regiment of pike and musket is broken down to it's individual musket wings and pike block. So each regiment has 3 parts to look after and throw for. A brigade will therefore take a lot longer to play with (generally) in P&S than a brigade of the same number of regiments in Black Powder.
We declared it a draw, as my cavalry had been beaten on my right but won on the left and the centre was still heavily contested. Both sides would probably have withdrawn come nightfall.
It was another excellent game and inspired me to do some painting of ECW figures. I will post the pics sometime of these though currently real life has slowed my posts and painting right down.
I think the next game in a couple of weeks time will be Star Wars X-Wing, which might or might not result in pictures - depending on whether the laser fire gets too hot!
Great and top notch painting on the miniatures/units and a lovely battle report to read...thanks for sharing!
ReplyDeleteHi Phil, Many thanks for your kind comments.
DeleteBest wishes,
Jason
Looks like it was an exciting game with plenty of action. Nice batrep and great pics!
ReplyDeleteThanks Anne, The pics turned out better than expected. The last time I photographed an ECW game I leaned in too close with the camera and got a pike scratch on the lens! Wargaming with Pikemen can be dangerous work!
DeleteBest wishes,
Jason
Fantastic pictures, these armies are really impressive...very nice AAR!
ReplyDeleteHi Phil,
DeleteThank you for your kind compliment on my AAR. I still have some way to go until they are as good as your battle reports. I aspire to one day produce maps as excellent as yours too!
Best wishes,
Jason
Wonderfully painted figures for a grand looking game.
ReplyDeleteHi Dean,
DeleteMany thanks for your compliments. I have some more figures painted up for the next game too! :-)
Best wishes,
Jason
The battle looked great, and sometimes the battle gets so hot that the correspondent becomes distracted from writing it up for the papers! :-)
ReplyDeleteHi Peter,
DeleteI was somewhat surprised when I found all my notes and stats sheets and found no further mention of what happened after being so methodical at the start of the game! I think it was getting towards 2am again though by the last game turn so battle fatigue played it's part.
Best wishes,
Jason
A very pleasurable read Jason, and a nice-looking game.
ReplyDeleteThis comment has been removed by the author.
ReplyDelete